How to Set Up Website with Goldfish?
2020-12-03 • 9 min read
The myth under the sea is that goldfish’s memory spans only three seconds. apio presents to you a one-page website generator that makes those 3 seconds worth it. A one-page website indicates a website that contains all the information in one HTML page. All the information is kept in one place which makes the navigation easier and allows you to control how you tell your story. In this article, we will show you how to use Goldfish by apio to create a simple website that showcase your works or tell your brand story!
🐟 One-Pager in e-commerce? Try our one-page online store creator - Chopin
Introducing Goldfish 
Goldfish is a one-page website generator powered by apio. We provide a templated structure but still with some flexibility for customization. All you need to do is plug in content and tell your story.
Having an one-page website is an easy-to-maintain digital presence comparing to social media management which requires constant contents and graphic producing. You can do so much with this simple website in additional to making it as your official website, including a landing page to collect subscribers, a digital flyer with latest promotion and product catalog, or an event program listed with agenda and speakers.
Follow along and create your website today!
Step 1: Get Started 
Go to Goldfish on Telescope, apio’s app platform.
Click ADD NEW PAGE to create a blank website and you will see a new page pop up. If you click GO TO PAGE you will see a blank page like the one below.
Step 2: Add Basic Information 
Firstly, let’s add some basic information of this website - including what this page is about, how to contact the page owner, brand logo and color, etc.
Page Info and Design 
- Page Title: The title of your website.
- Page Subtitle (optional): A subtitle.
- Page Logo: Give your store a logo in URL format. Your logo will also be shown in the website footer and used as preview thumbnail when sharing on social media. *What's image URL?
- Header Color: This is essentially the theme color of this website, which will also apply to the font color of the top row text and the “go to top” button. You can easily select color from swatch or enter a hex code.
Contact Information 
- Email: Email address to reach you. (eg. apiobuild@gmail.com)
- Facebook: Full url to your facebook page or group. (eg. https://www.facebook.com/apiobuild)
- Instagram: Full url to your Instagram page. (eg. https://www.instagram.com/apiobuild/)
- Line: Url to your line account or line group. *How to retrive LINE URL?
- Phone Number: Start with country code (US: +1) and without dash nor brackets (eg. +17181234567)
Click (plus sign) to add new contact information. If you’d like to modify it, just select the same contact method and enter with the updated information. Then click (plus sign) to update. You can also click (minus sign) to delete the information.
Hero Image 
Hero image is the first thing people see when they first enter your site. Here are some great ways to give your first impression. A ambience photography can set the tone for your brand, a showcase of some of your proudest works definitely draw people’s eye, or a team photo that gives viewers a more intimate look into your business. Sometimes, a simple slogan or a direct call to action (i.e. “Shop Now”) create a dialogue with your audience and encourage the them to respond. Be creative and adventurous with your choice of hero image!
Goldfish creates responsive website, so the hero image displays differently depending on the screen size of your viewing device. Therefore, we recommend you to keep important information center, if you plan to add text to your image. Swapping image in Goldfish is as easy as pasting a different URL, so the trial and error won’t be too troublesome.
- Hero Image URL: The ideal hero image should be landscape in size larger than 1024 x 500 px.
- Mobile Image URL (optional): You can have a different image or the same image in different orientation for a better mobile viewing experience. The ideal image should be portrait or square.
Step 3: Contribute Content 
The next step will be telling your story!
Select Layout: We have designed a variety of layouts for you to choose how you’d like to present your contents (currently 6 options). Don’t mind how we call these sections, just focus on the formats and choose the ones that fit you needs.
1. About and Introduction (Staggered Images)
2. Product/Customer Highlight (Image Slideshow)
3. Catalog Display (Thumbnail)
About | Highlight | Catalog | |
|---|---|---|---|
| Layout | Staggered Images | Image Slideshow | Thumbnails |
| Title | Yes | Yes | Yes |
| Description | Yes | Yes | No |
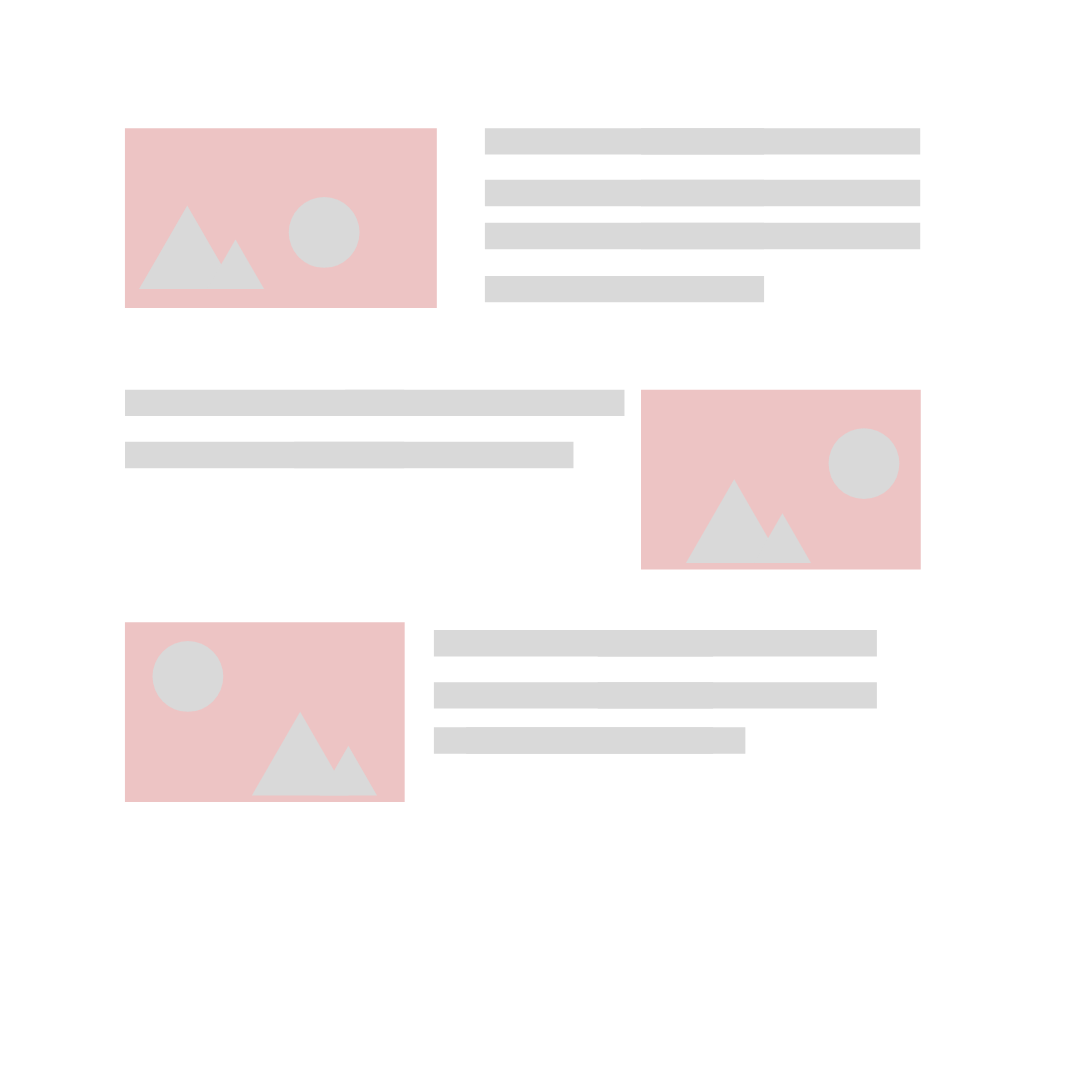 |  |  |
Customize Section Title: You can decide how you’d like to call each section. That text will also be on the header bar for easy navigation.
Discard the Rest: You don’t have to use all the sections. For example, if you don’t have a physical store, feel free to skip the Location by deleting the text in the Section Title field.
To Add or Delete Items: Click (plus sign) to add new item. You can also click (minus sign) to delete the information. If you need to modify the information, simply delete it and add a new one.
1. About and Introduction 
Each about section contains a graphic, a title, and a short paragraph. The introductions blocks will be displayed in staggered manner; which means the first block has image on the left and text on the right and the second block has opposite presentation. The height of the image will always be 250px but the width will change based on the word count you put in the description. You can have as many introductions as you want.
- About Section Title
- About Section Subtitle (optional)
- Introduction Sections
- Intro Image URL: Landscape works better. Height should be at least 250 px.
- Intro Title (optional)
- Intro Description: It looks better between 50 ~ 120 words.
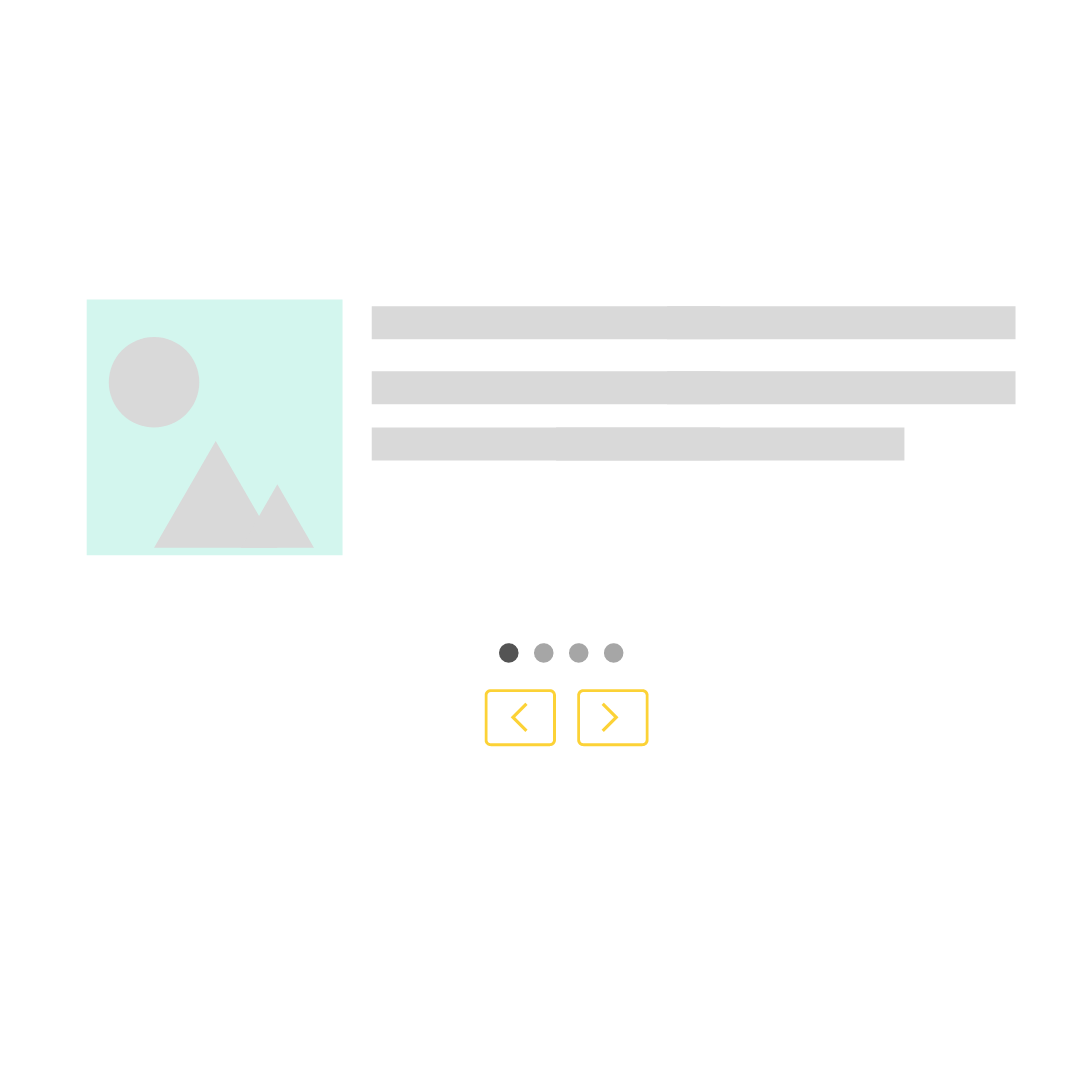
2. Customer/Product Highlight 
Image featured in this section will be presented as an image slide show. One image with its description will be shown at a time.
- Hightlight Section Title
- Image Slider
- Slide Image URL: Any orientation would work.
- Slide Description: Best to keep the word count under 120 words.
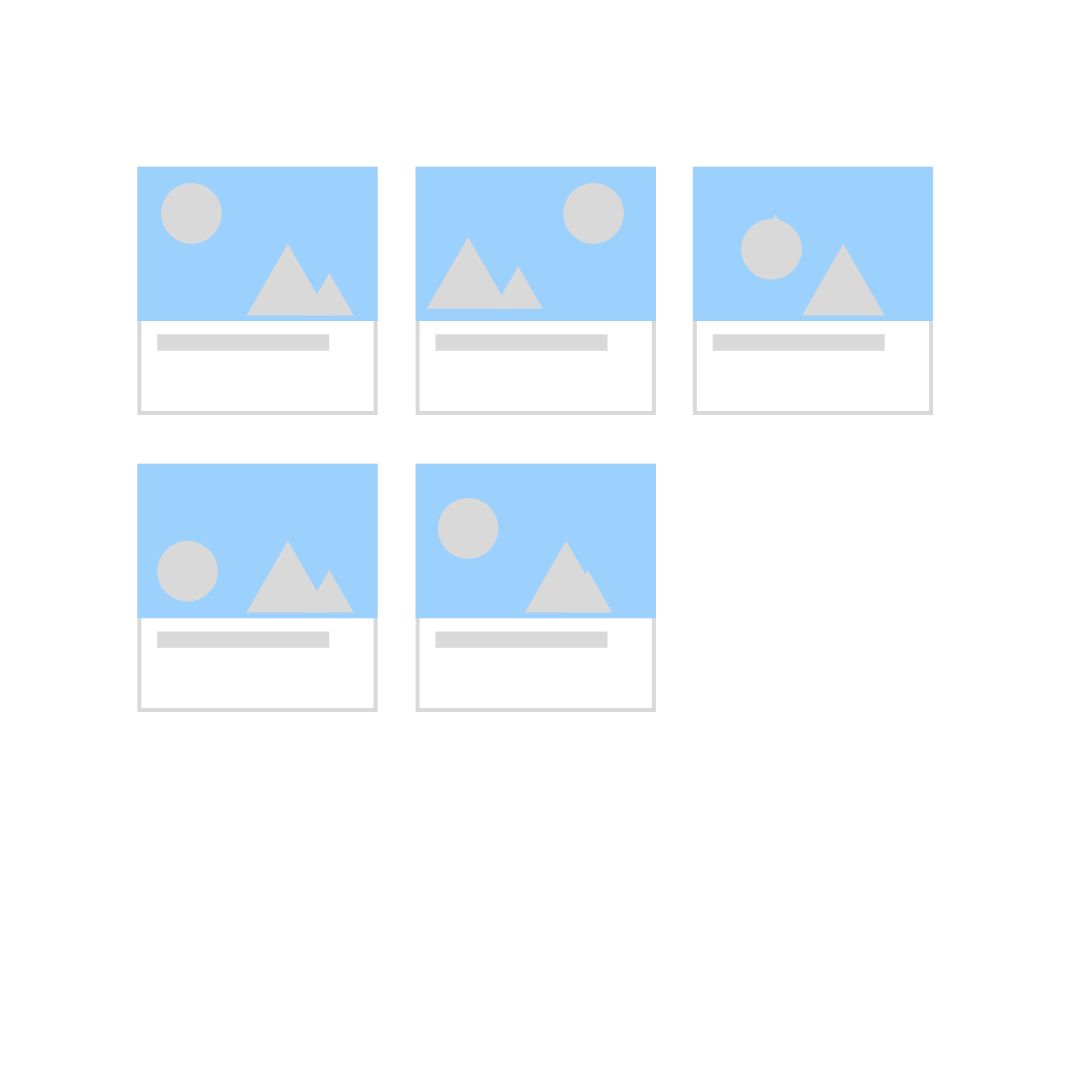
3. Catalog Display 
This section aims to create a gallery wall of featured items, which can be served as your product catalog, a menu of services provided, clients or collaborated brands showcase, or a know your team segment.
- Section Title
- Thumbnail Image URL: Best format is landscape or square.
- Thumbnail Title
4. Timeline or Agenda 
You can utilize this section to promote your marketing events.
- Agenda Section Title
- Event Date & Time (optional): Enter the date and time in your desired format or event write “To be announced”. You can also leave it blank if the activities listed here have no scheduled time.
- Event Speaker (optional): There will be a “by” before any text input.
- Event Title
- Event Description (optional)
5. YouTube Video 
Moving image is an eye-catching and efficient way to introduce your brand. Whether it’s a short interview with the founders or a collage of raving customer reviews, good video storytelling raises brand awareness and engagement.
- Section Title: You can call it based on the content of your video. Some ideas: “Product Review”, “Customer Feedback”, “Teaser”.
- YouTube URL: Go to the video you’d like to feature on YouTube and click the
Sharebutton to retreive the URL. It should look like this: https://youtu.be/BWYpITLKzXI. Do not copy the url directly from the address bar.
6. Location 
If you have a brick and mortar business or a physical presence of office, you might to let your audience know where to find you. An embeded google map gives viewers a quick overview of your whereabout, so it’s easier for them to plan their visits.
- Section Title: You can call it the way you’d prefer. Some ideas: “Where to find us?”, “Come eat with us!”, “Visit us!”
- Google Map Embeded Script: Follow the instruction below to retrive a block of HTML code from Google Map and paste it to this field.
- Search the place on Google Map.
- Click the
Sharebutton. - In the pop-up share window, choose
Embed a Maptab. Then clickCOPY HTML.
Step 3: Collect Emails 
We’re incorporating apio’s very first app - Waitress to help you collect emails from your website visitors.
Contact Us Section Name
Add Name/Email/Note: Depending on which information you’d like to collect. Check all applies.
Contact Us Google Form URL: Put in this address
https://trampoline.apiobuild.com/router/<route url from step 4>*Note: It’s NOT the link to your google sheetContact Us Form Token: Follow the instruction below to retrive the
Service Token.Create a new google sheet.
Click
Shareon google sheet. Copy the email address listed on the Waitress App and add it as an editor to your google sheet.Copy your google sheet URL and paste it back to the indicated field in Waitress. Then click (unlock sign) to authorize.
You will receive a token route. Click (copy sign) to copy and paste it somewhere.
*Not to worry if you lost the information. It’s essentially
waitress/gsheets/<your google sheet id>*You can find your Google Sheet id in the url, which is the number between
spreadsheet/d/and/edit.Go to settings on Telescope and click
Add New Token.- Alias: nickname to this token, you can put “contact form token.”
- Target Audience: Put in
https://trampoline.apiobuild.com
Expand this token, paste the token route from step 5 in the
Routefield and selectPOSTfrom the dropdown under the Access Policy.Then copy the
Service Token, paste it back to Goldfish.
*Too complicated? We’re in the process of making this step easier. Meanwhile, you can refer to this Waitress tutorial.
Questions you might have 
How much does it cost? 
🙋 Your first Goldfish website is always free of charge (yay!). If you’d like to have multiple Goldfish sites, you can upgrade to our Basic Plan with only $10 per month. Bonus point with the Basic plan is to have a apio-branded shorten URL.
Can I connect my Chopin store to Goldfish site? 
🙋 Absolutely! Contact us for more information.
Can I move the order of each section? 
🙋 This beta version of Goldfish doesn’t support changing the order yet. We’re happy to help by manually changing the order for you. Email us your desired order and your Goldfish URL, we will take care of it!
Summary 
One page website is a simple yet powerful way to enhance your online presence and ultimately to help you build up your brand and attract more customers. apio keeps building website simple for you. We hope that you will give Goldfish a try!
Happy building websites with Goldfish! 🐟