Create Email Signup Form
Want to collect emails or short forms on your website but don't want to setup a backend. Don't like the embedded google form layout but only the functionality? In this post will walk through how to create a email signup or any forms with the Waitress app in three easy steps.
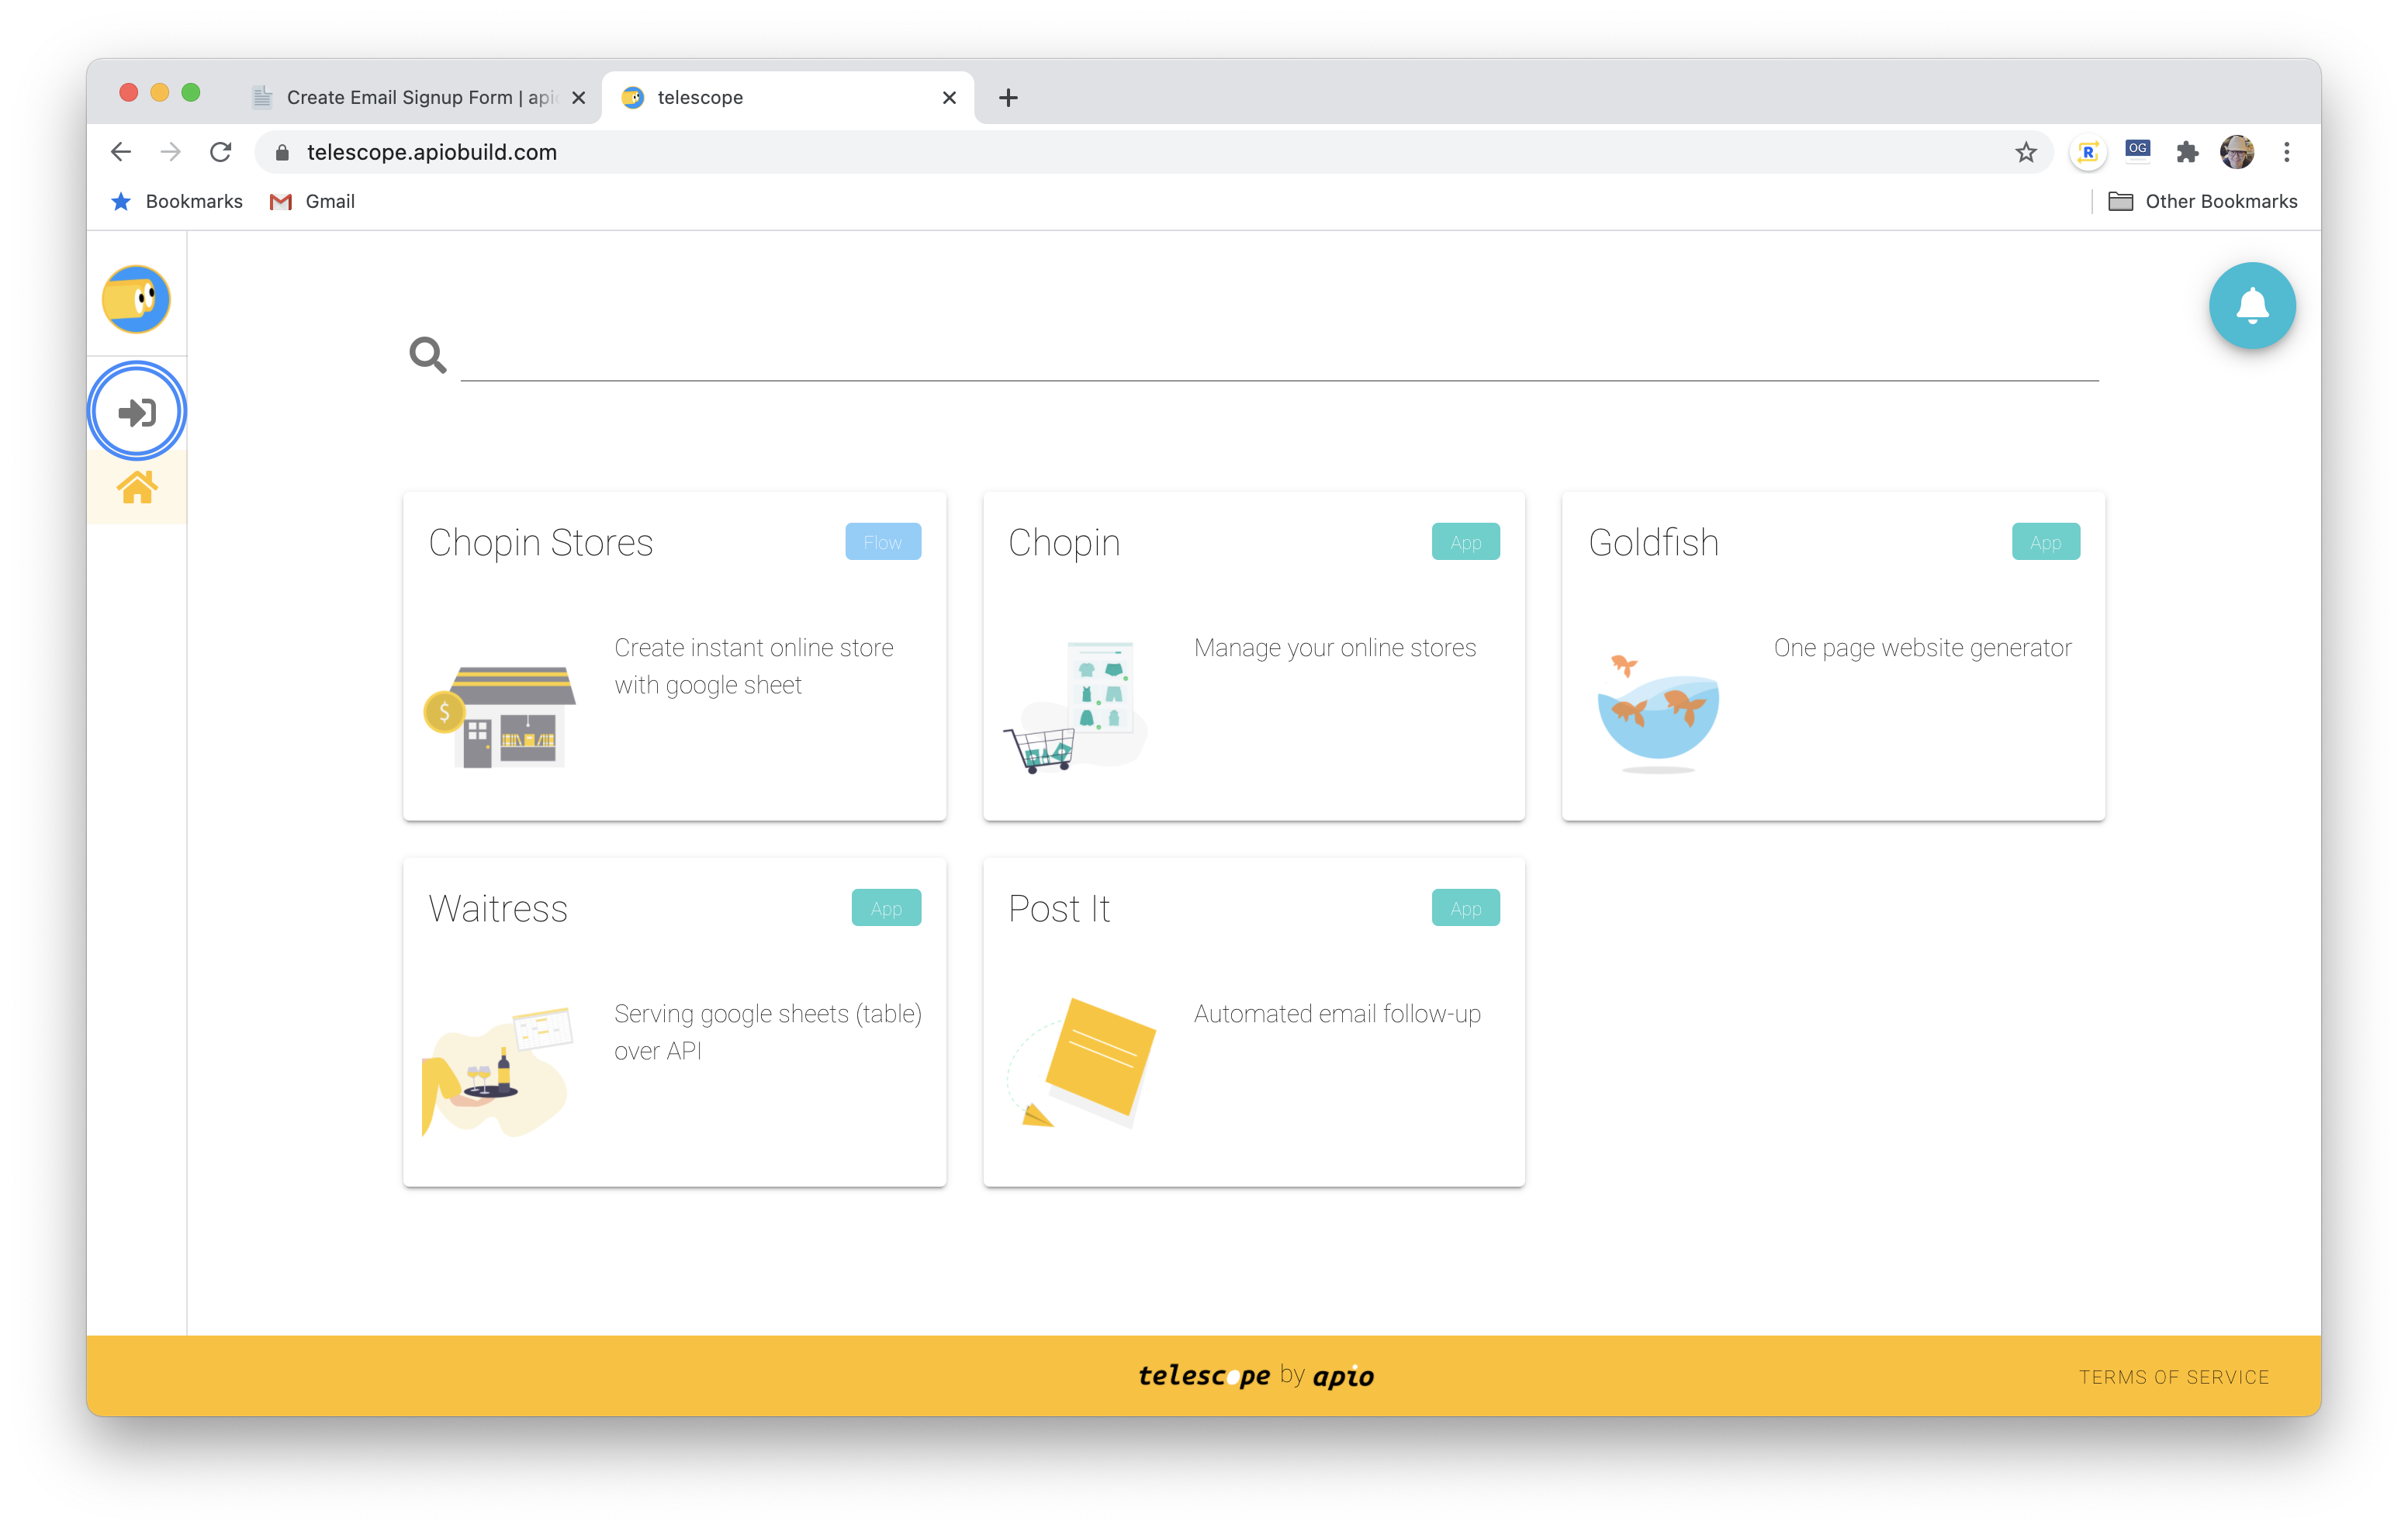
Navigate to Waitress App on Telescope to start.
1. Create New Google Sheet
You don’t need to create a new one if you wish to use an existing one. Just go to the one you wish to use and follow the instruction on Telescope:
- Click Share on the top right of the google sheet
- Share to
waitress-dev@apio-277201.iam.gserviceaccount.comas an Editor - Copy the google sheet to the console and click the 🔓 icon to authorize us to access your google sheets.

- Copy the API route with you, we will need it in the next step.

2. Create Auth Token
In order to use apio’s platform services outside of Telescope, we require general users to create apio’s platform auth token. To create a token:
- Click the gear button ⚙️ to view Telescope user settings .
- Click
VIEW TOKENand scroll to the bottom toAdd New Token.- Alias You can use any alias that you wish. This just so that you can remember what the token was created for.
- Target Audience
This will be the domain you wish to use the token with. For example, we putUse http://localhost:port if you are testing locally.
https://apiobuild.com/for the email form sign up form on apiobuild.com . You can always update audience as needed.
- Expand the token you just created. Paste the API route from Step 1
, select
POSTand click ➕ button.
This means the token allows you to make post request to the API route from domain (audience) specified.
3. Add HTML Form
HTML
All it does is to create a form on your page. If you use other frameworks such as Vue, you don’t need to follow the bootstrap convention. This is a short bootstrap example:
<form>
  <div class="row">
    <div class="col col-12 col-sm-4">
      <input
        type="text"
        class="form-control"
        id="fname"
        placeholder="Enter name"
      >
    </div>
    <div class="col col-12 col-sm-6">
      <input
        type="text"
        class="form-control"
        id="femail"
        placeholder="Enter email"
      >
    </div>
    <div class="col col-12 col-sm-4">
      <button
        type="button"
        class="btn btn-primary btn-md btn-block"
        onclick="submitForm()">
        Sign Up
      </button>
    </div>
  </div>
</form>
Javascript
Notice the submitForm function above. We need to define a javascript function to make a POST request to the Waitress API route with the token you just created.
Copy the Telescope Service Token and Waitress API Route into the following snippet.
<script type="text/javascript">
  let token = "Bearer <Telescope Service Token>"
  let url =
  "https://trampoline.apiobuild.com/router/<Waitress API Route>";

  const submitForm = async () => {
    const btn = document.getElementById("email-sign-up-submit-btn");
    let name = document.getElementById('fname').value;
    let email = document.getElementById('femail').value;
    let created = new Date().toISOString();
    let payload = [
      {
        Name: name,
        Email: email,
        Created: created
      },
    ];
    const resp = await fetch(url, {
      method: 'POST',
      headers: {
        'Content-Type': 'application/json',
        'Authorization': token,
      },
      body: JSON.stringify(payload)
    });
  }
</script>
Happy Emailing 📧
That’s it. We will continue to improve our process to make this even easier. Let us know if you run into any issue. Drop us a message → .