How to Configure Your Chopin Store
2020-07-09 • 8 min read

After creating your Chopin store, you now need to 1) update the catalog google sheet with your own product information; 2) finish setting up your store in Chopin app, including appearance, social accounts, discount rule, free shipping threshold, etc. In this article, we will breakdown all the google sheet fields as well as explain customization settings. Let us help you create a store tailored for your business needs!
📚 We stop updating this guide. Read full content in docs →
🛍️ 中文設定教學
Update Catalog Sheet 
Your store would be look like this if you follow the tutorial and use the example data provided. But I’m pretty sure you’re not selling Cool Cat and Funny Cat. Now it’s time to update the catalog google sheet with your own product information.
Fields are defined as the following:
- name: Unique name/id starts with any alphabet and contains only dashes (-), underscores (_), and alphanumeric are allowed for each product. No spaces.
- nickname: Item names that will appear on the store page, they can be any language, symbol, and even emoji.
- description (optional): More information about the product. *Styling with Markdown is supported
- image_url: URL of the product image(s). Multiple image urls can be separated by commas (,). *What's image url?
- price: Product price, no need to enter “$” (dollar sign).
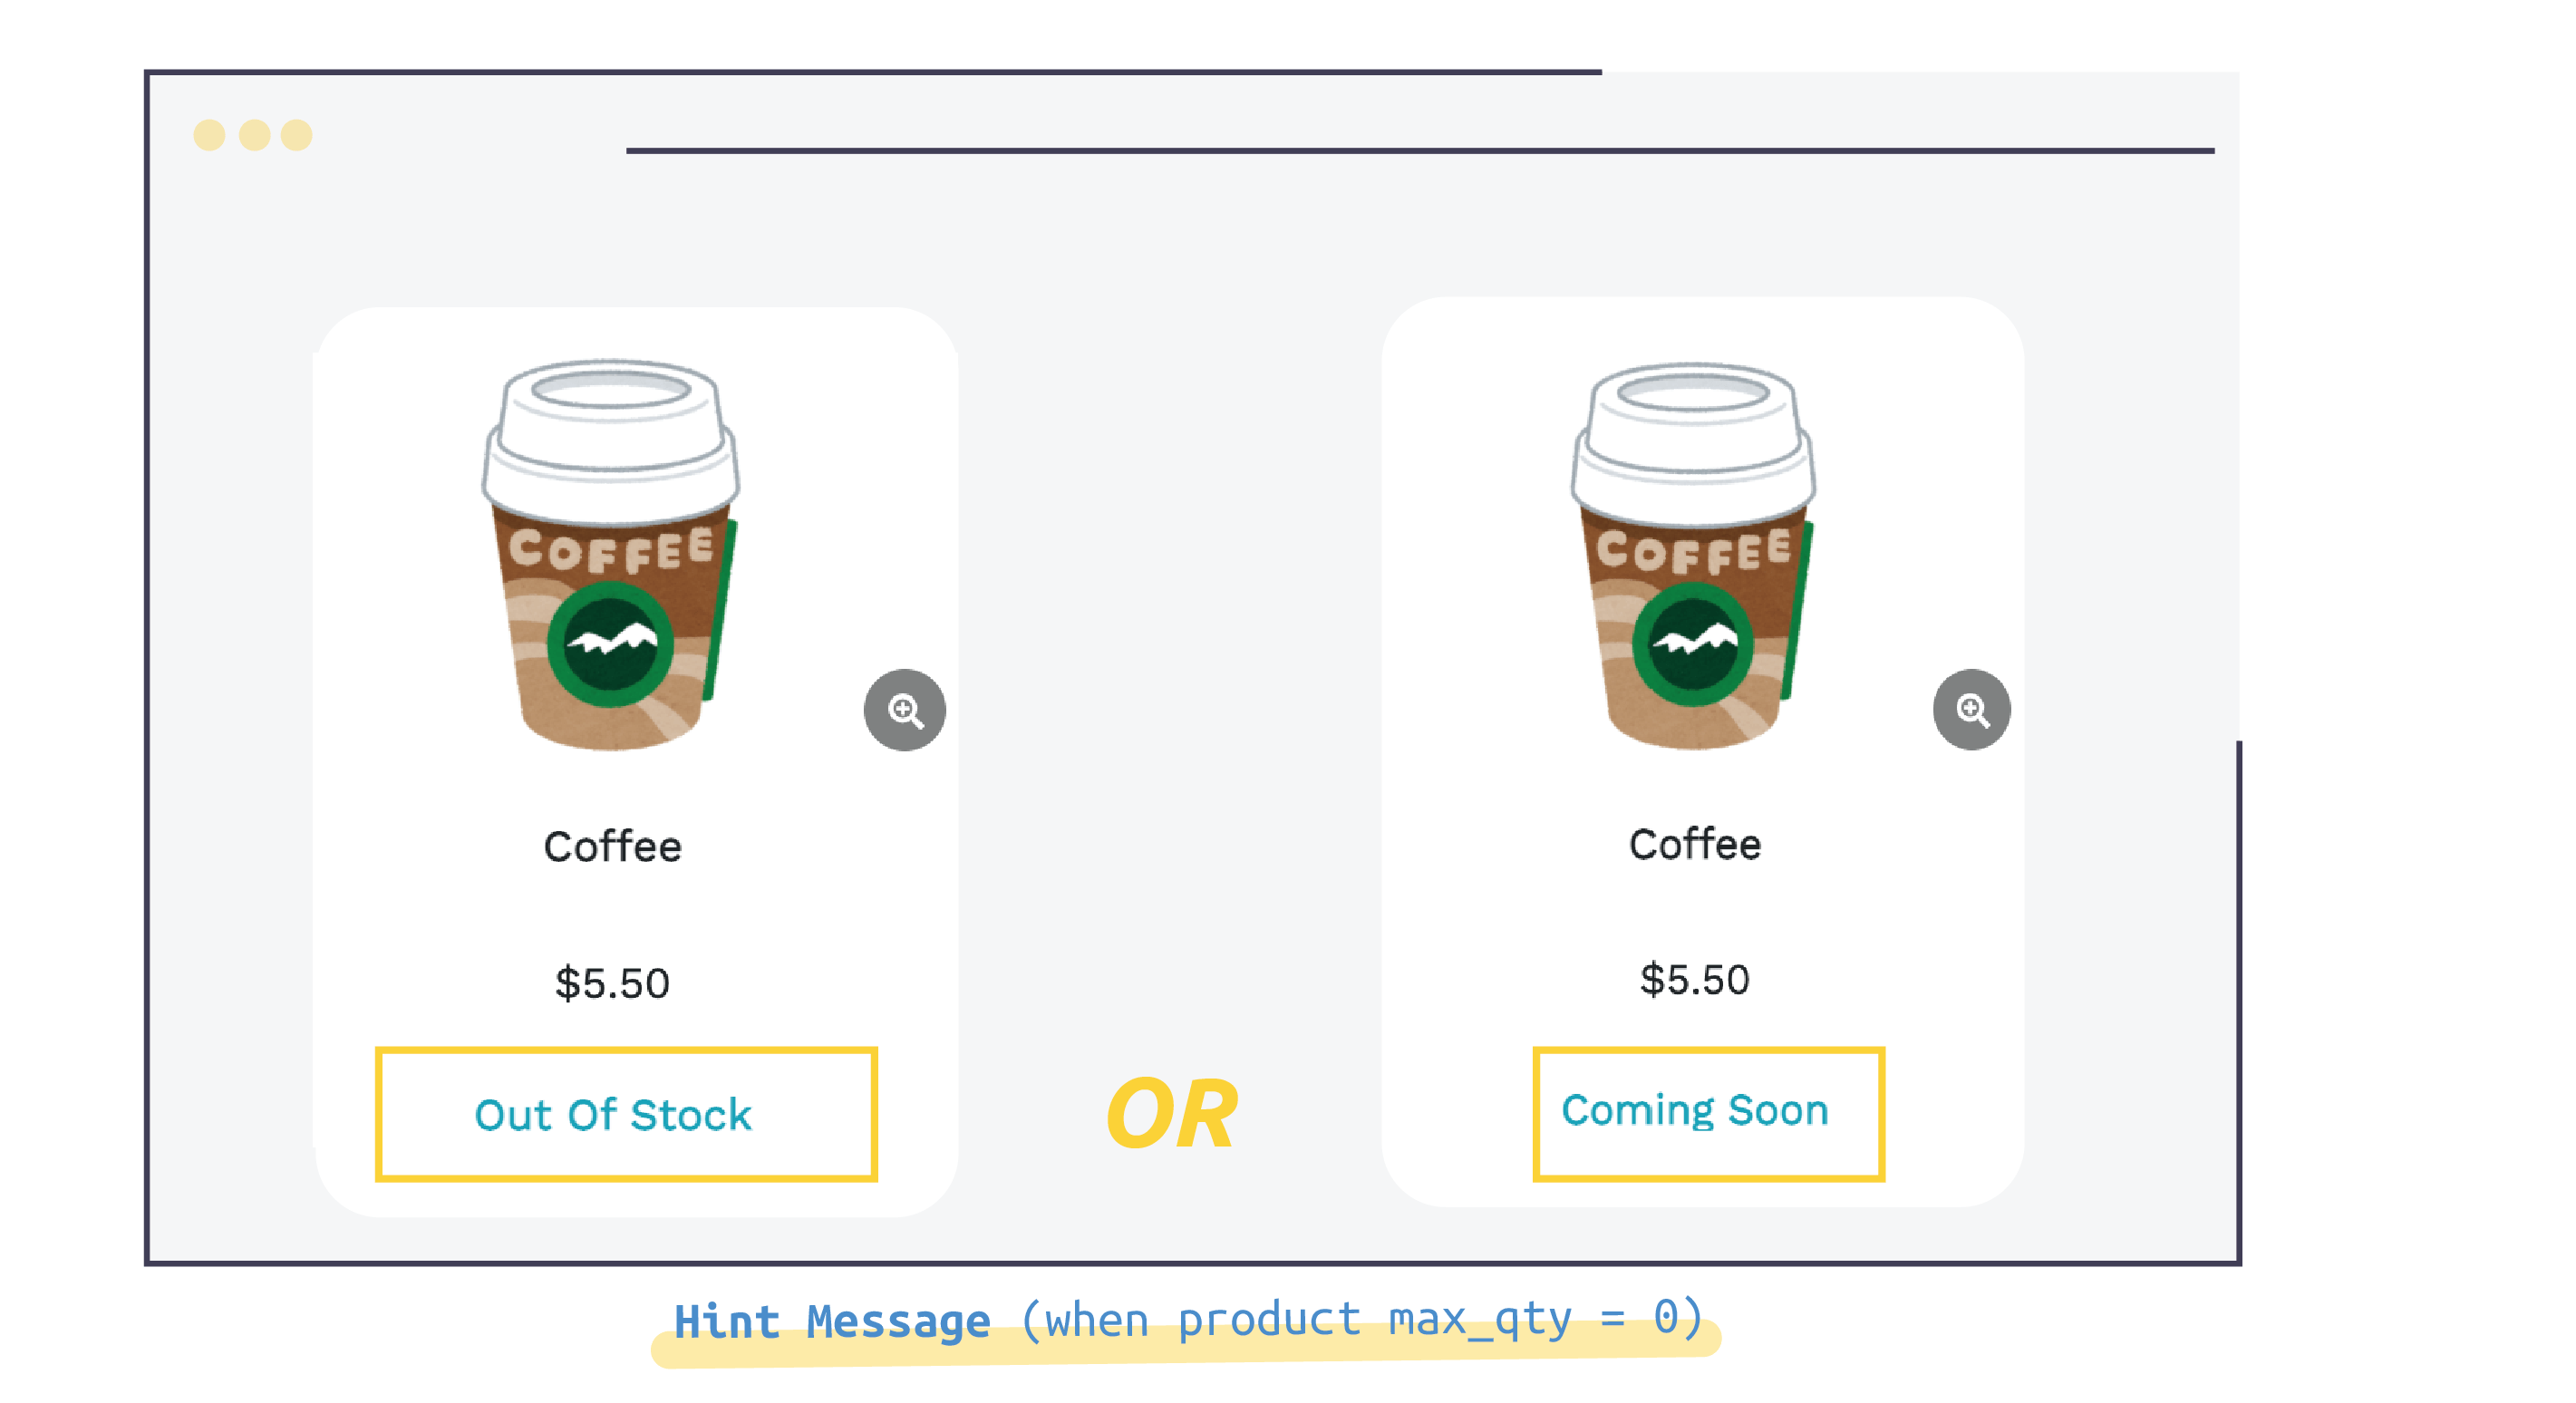
- max_qty (optional): Maximum quantity that one customer can buy. If max_qty = 0, it will show ‘Coming Soon’
- category (optional): To allow customer to filter products. Multiple categories can be separated by commas (,).
- hide: Enter “x” (or any other characters), this product will not appear on your store.
- no_tax: Enter “x” (or any other characters), sales tax won’t apply to this product.
Example:

If you want to sell products with multiple options, you will need to add below columns manually:
- option:name
- option:size
- option:flavor
- option:color
Example:

⚠️ Important:
- There should not be any empty line(s) between rows.
- Only items with valid
nameandpricewill show on website.
If you experience any errors, follow these FAQs and troubleshoot yourself or contact customer support!
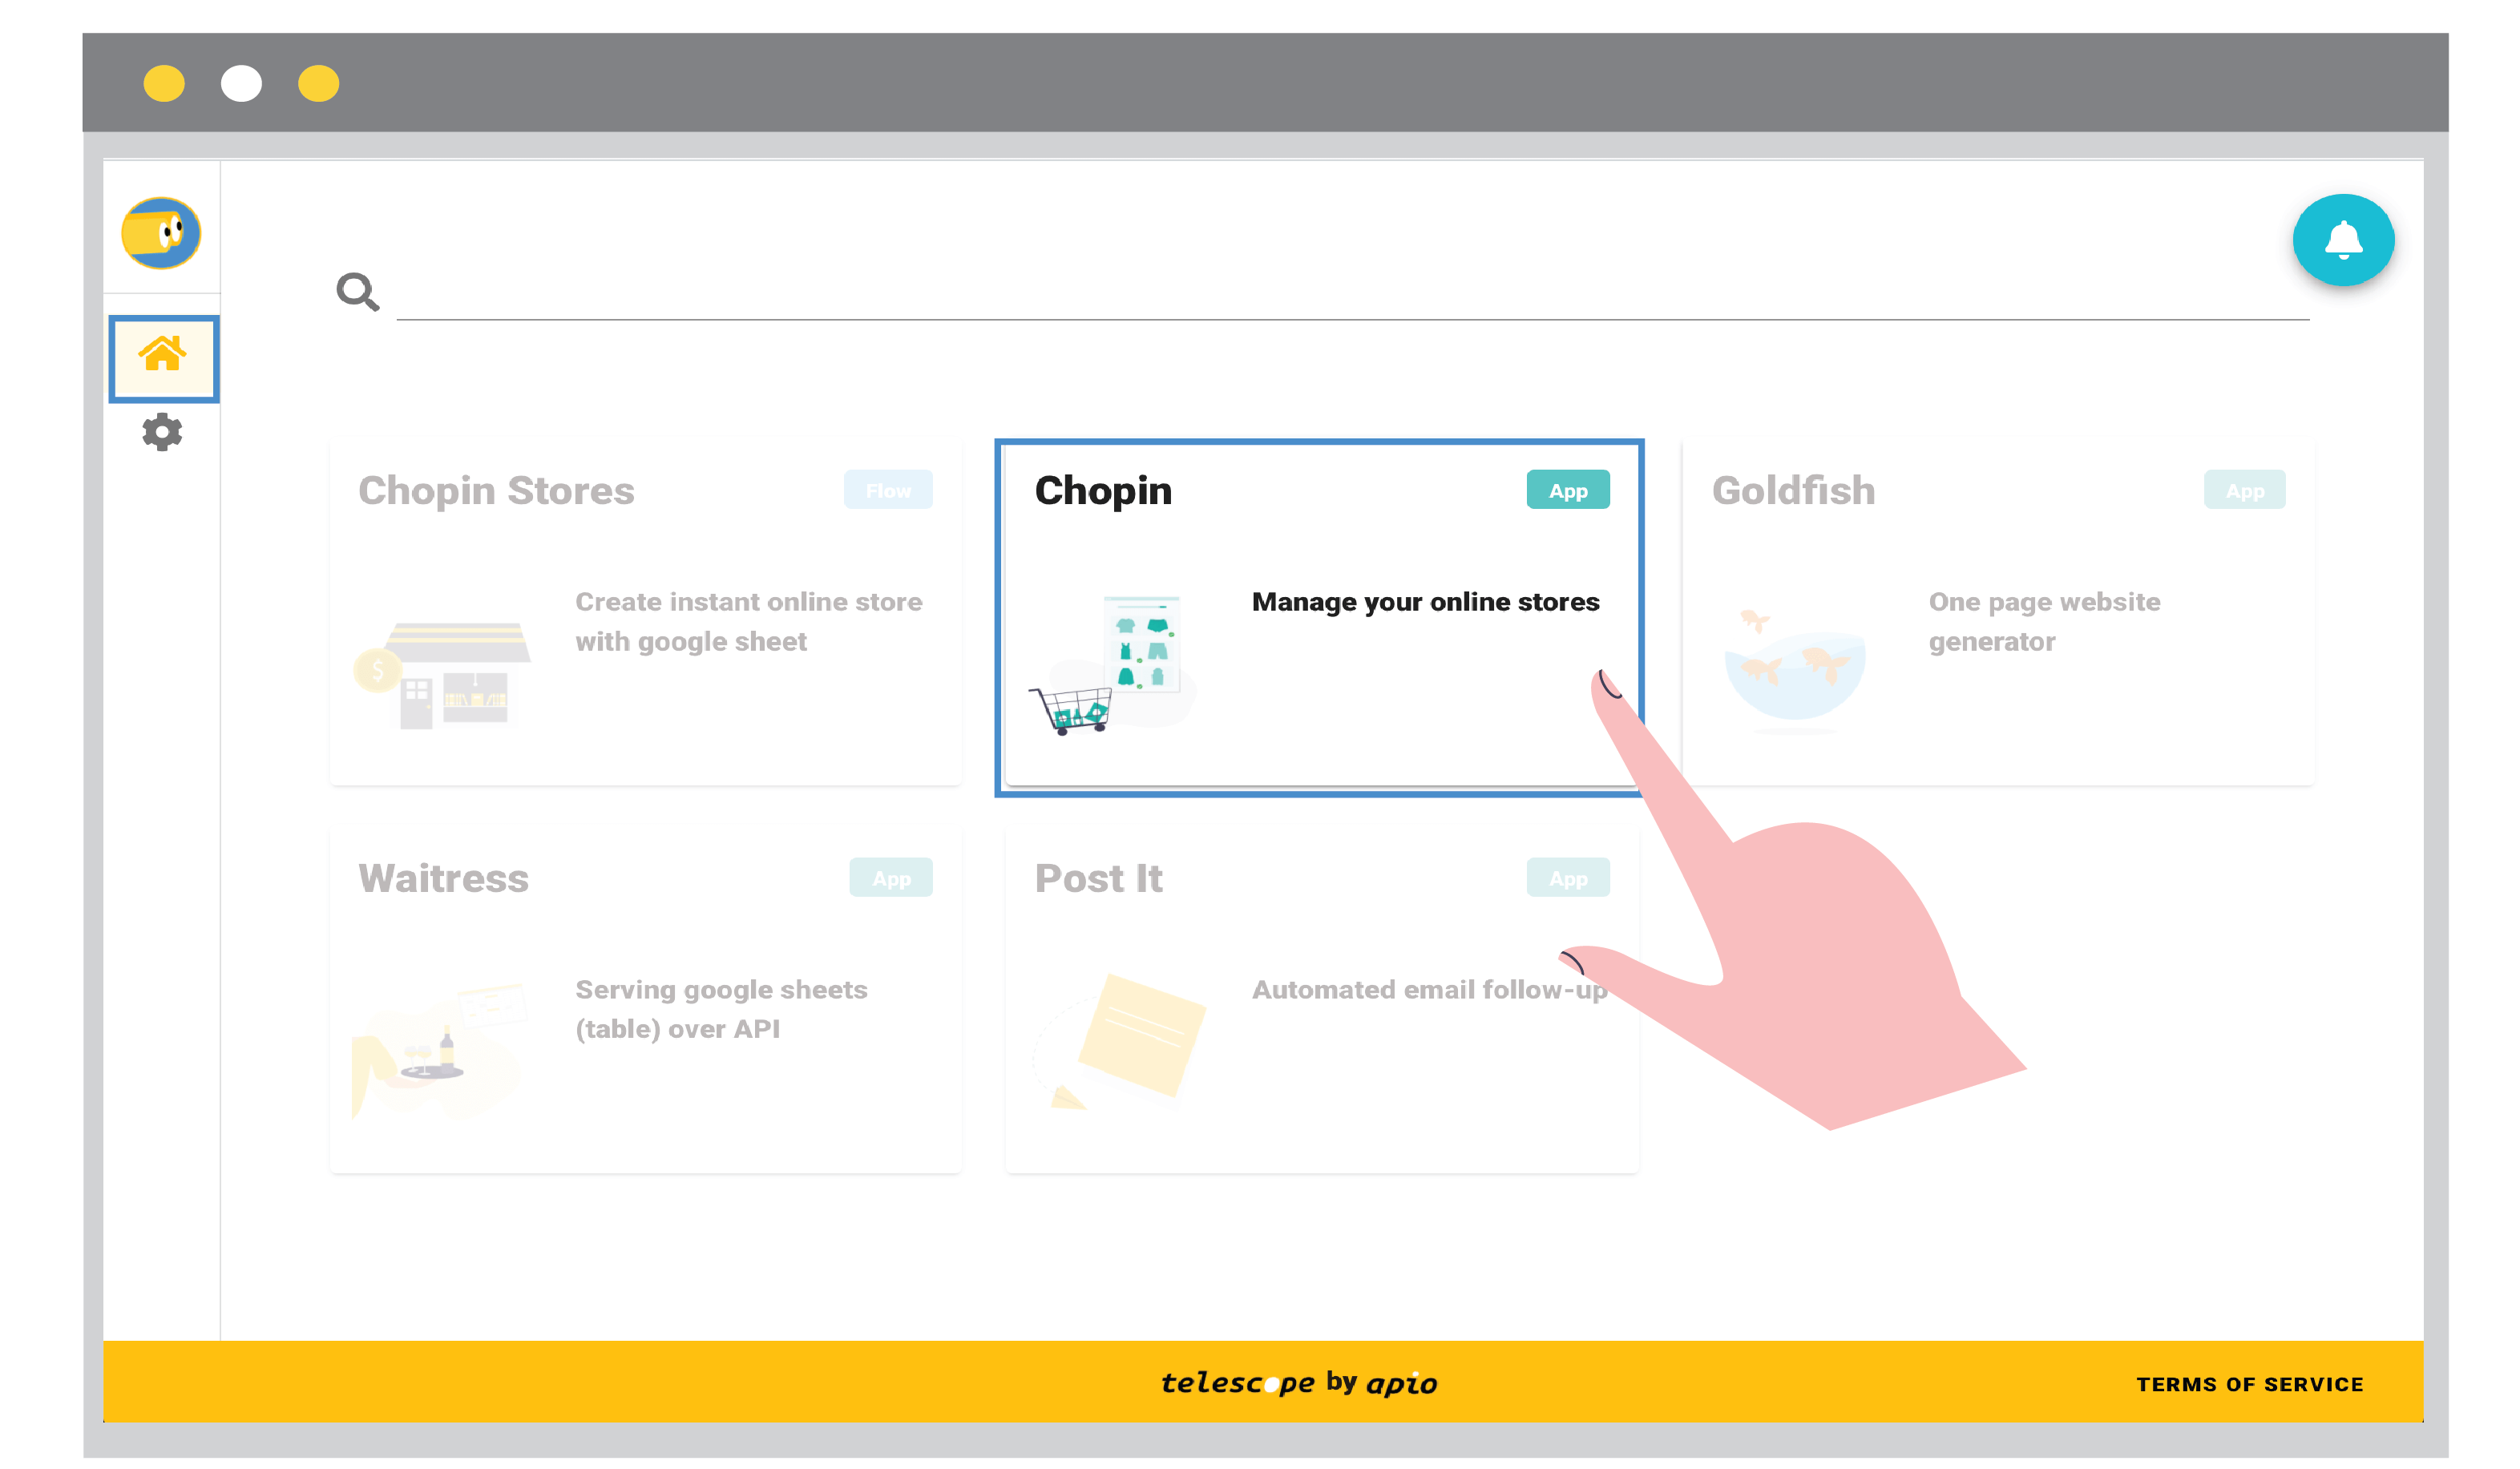
Configure Your Store (in Chopin app) 
The next step is to customize your store in Chopin app, where you can change the layout of your online store or configure various functions. You can update this information anytime (except store name and waitress APIs) and the updates will be reflected in real-time.
⚠️ Editing Tips:
- Click (save sign) to save your updates. Click (trash can sign) to delete the store completely.
- Click (plus sign) to add new information and click (minus sign) to delete the information.
- To modify, just select the same option and enter with the updated information. Then click (plus sign) to update.
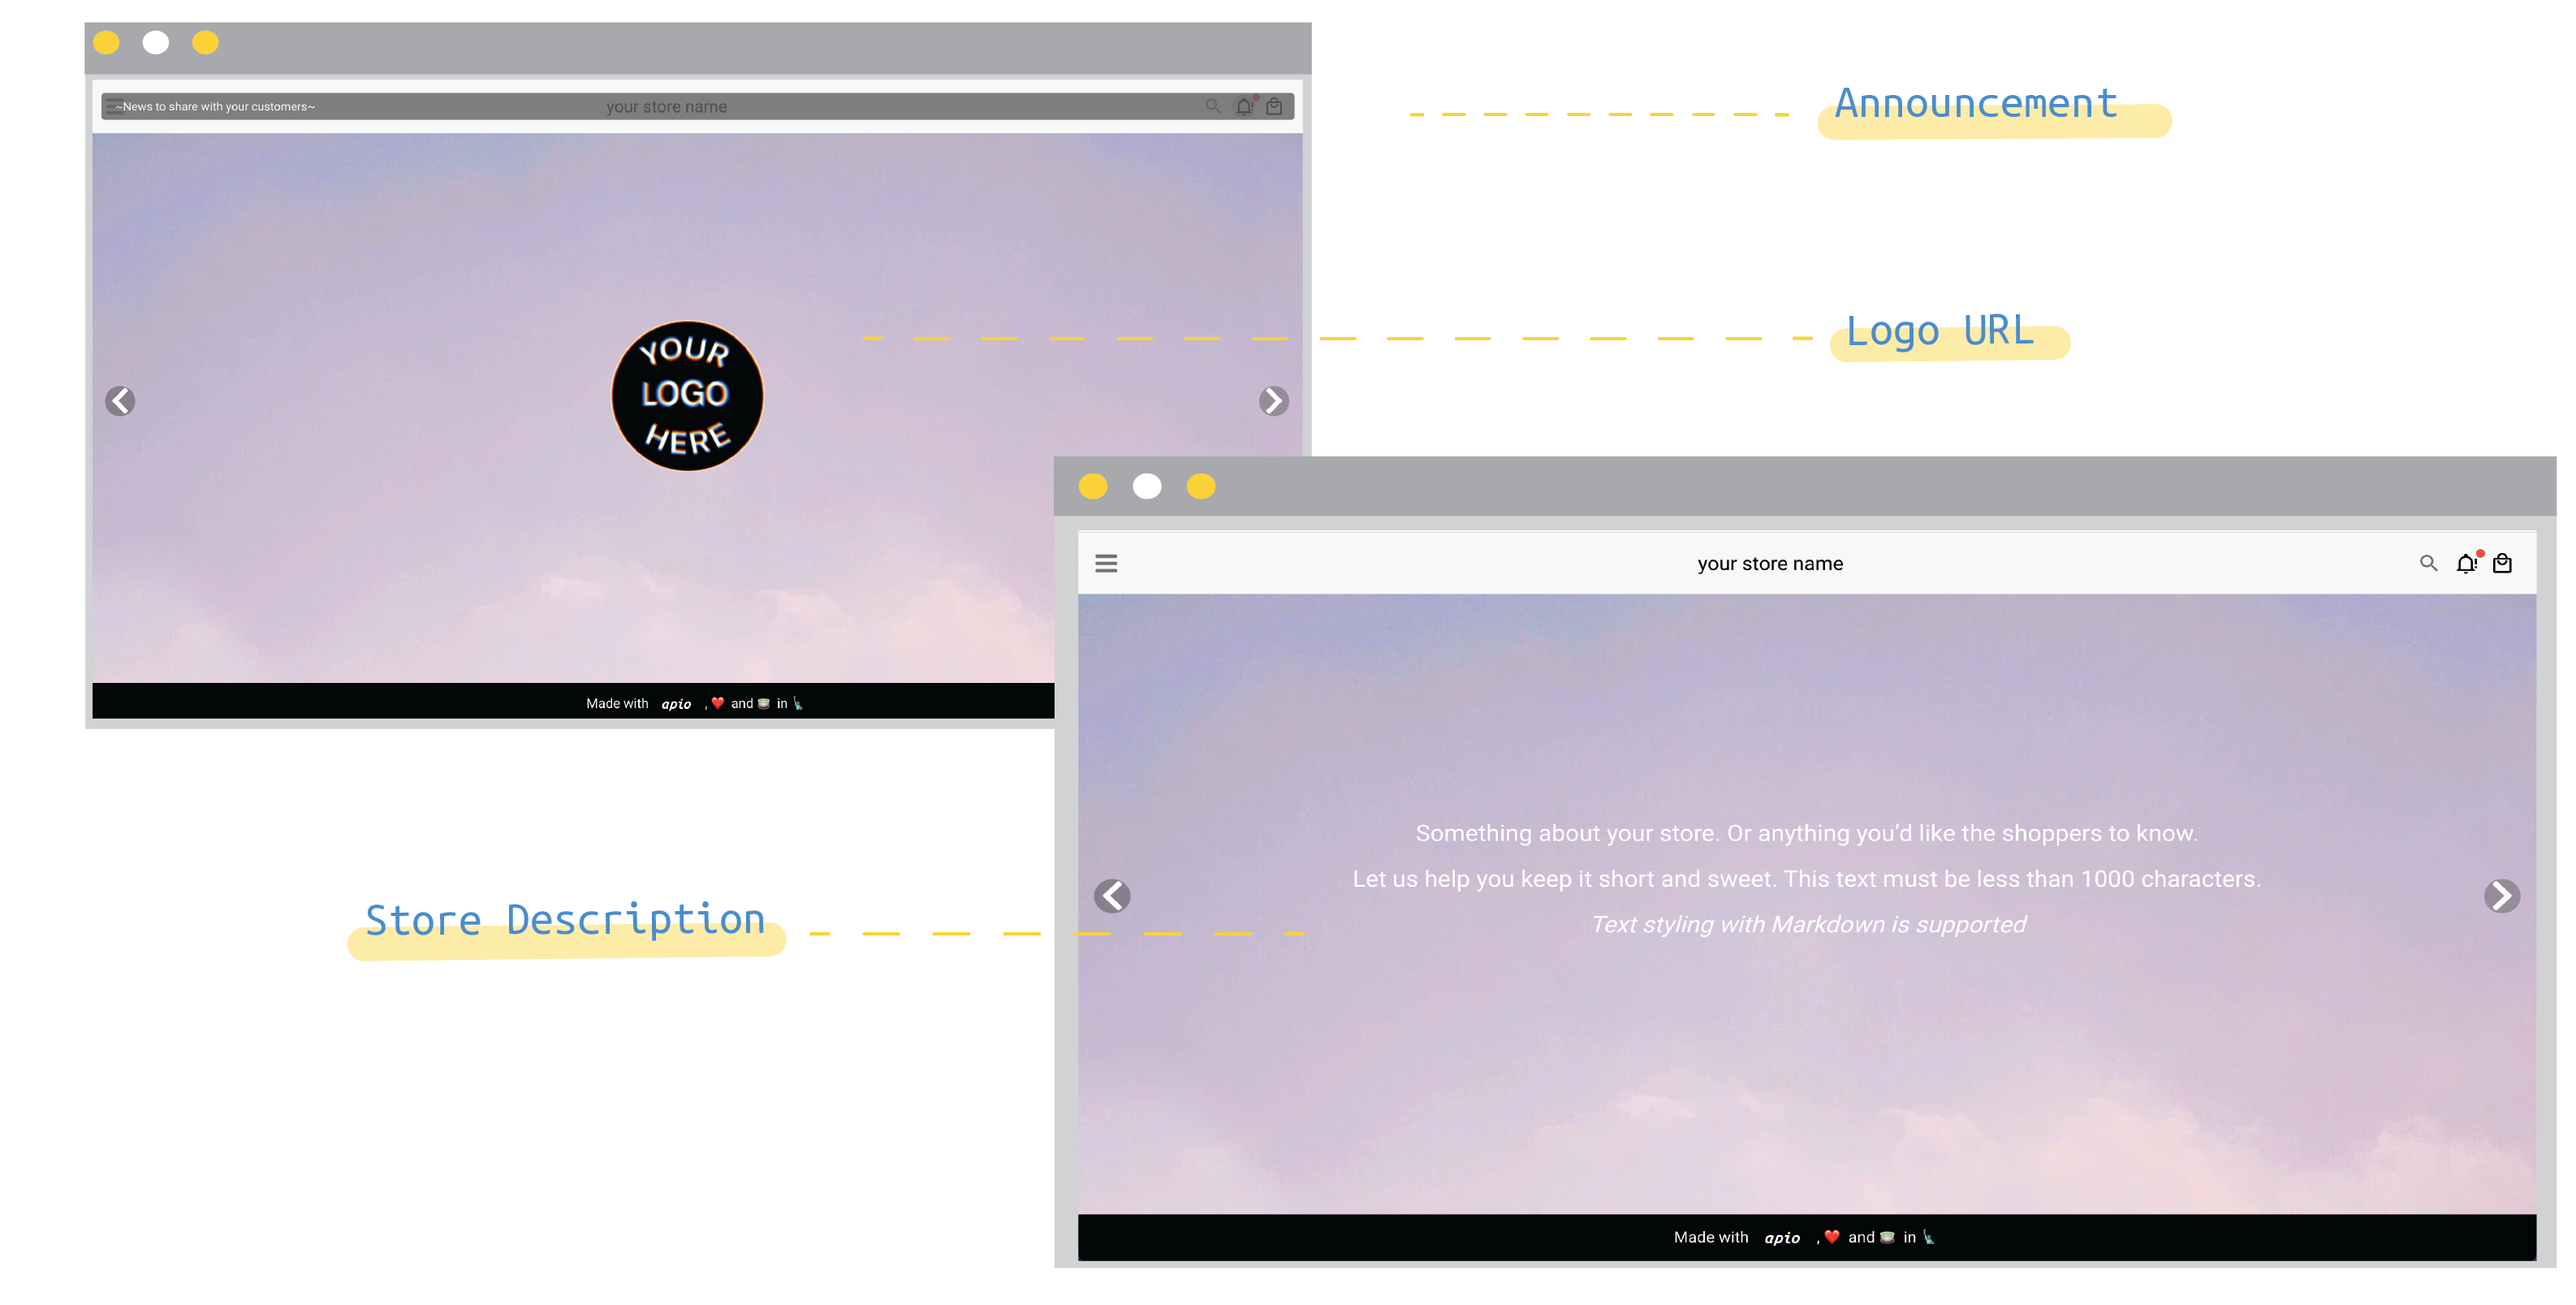
Store Information 
- Store Name: You named your store when creating the store. It cannot be modified.
- Logo url (optional): Give your store a logo. *What's image URL?
- Store Description (optional): Let your customers know what your store is about, brand story, shipping/return policy, or any information you’d like to include. Up to 1000 characters. *Styling with Markdown is supported
- Announcement (optional): News to share with your customers.
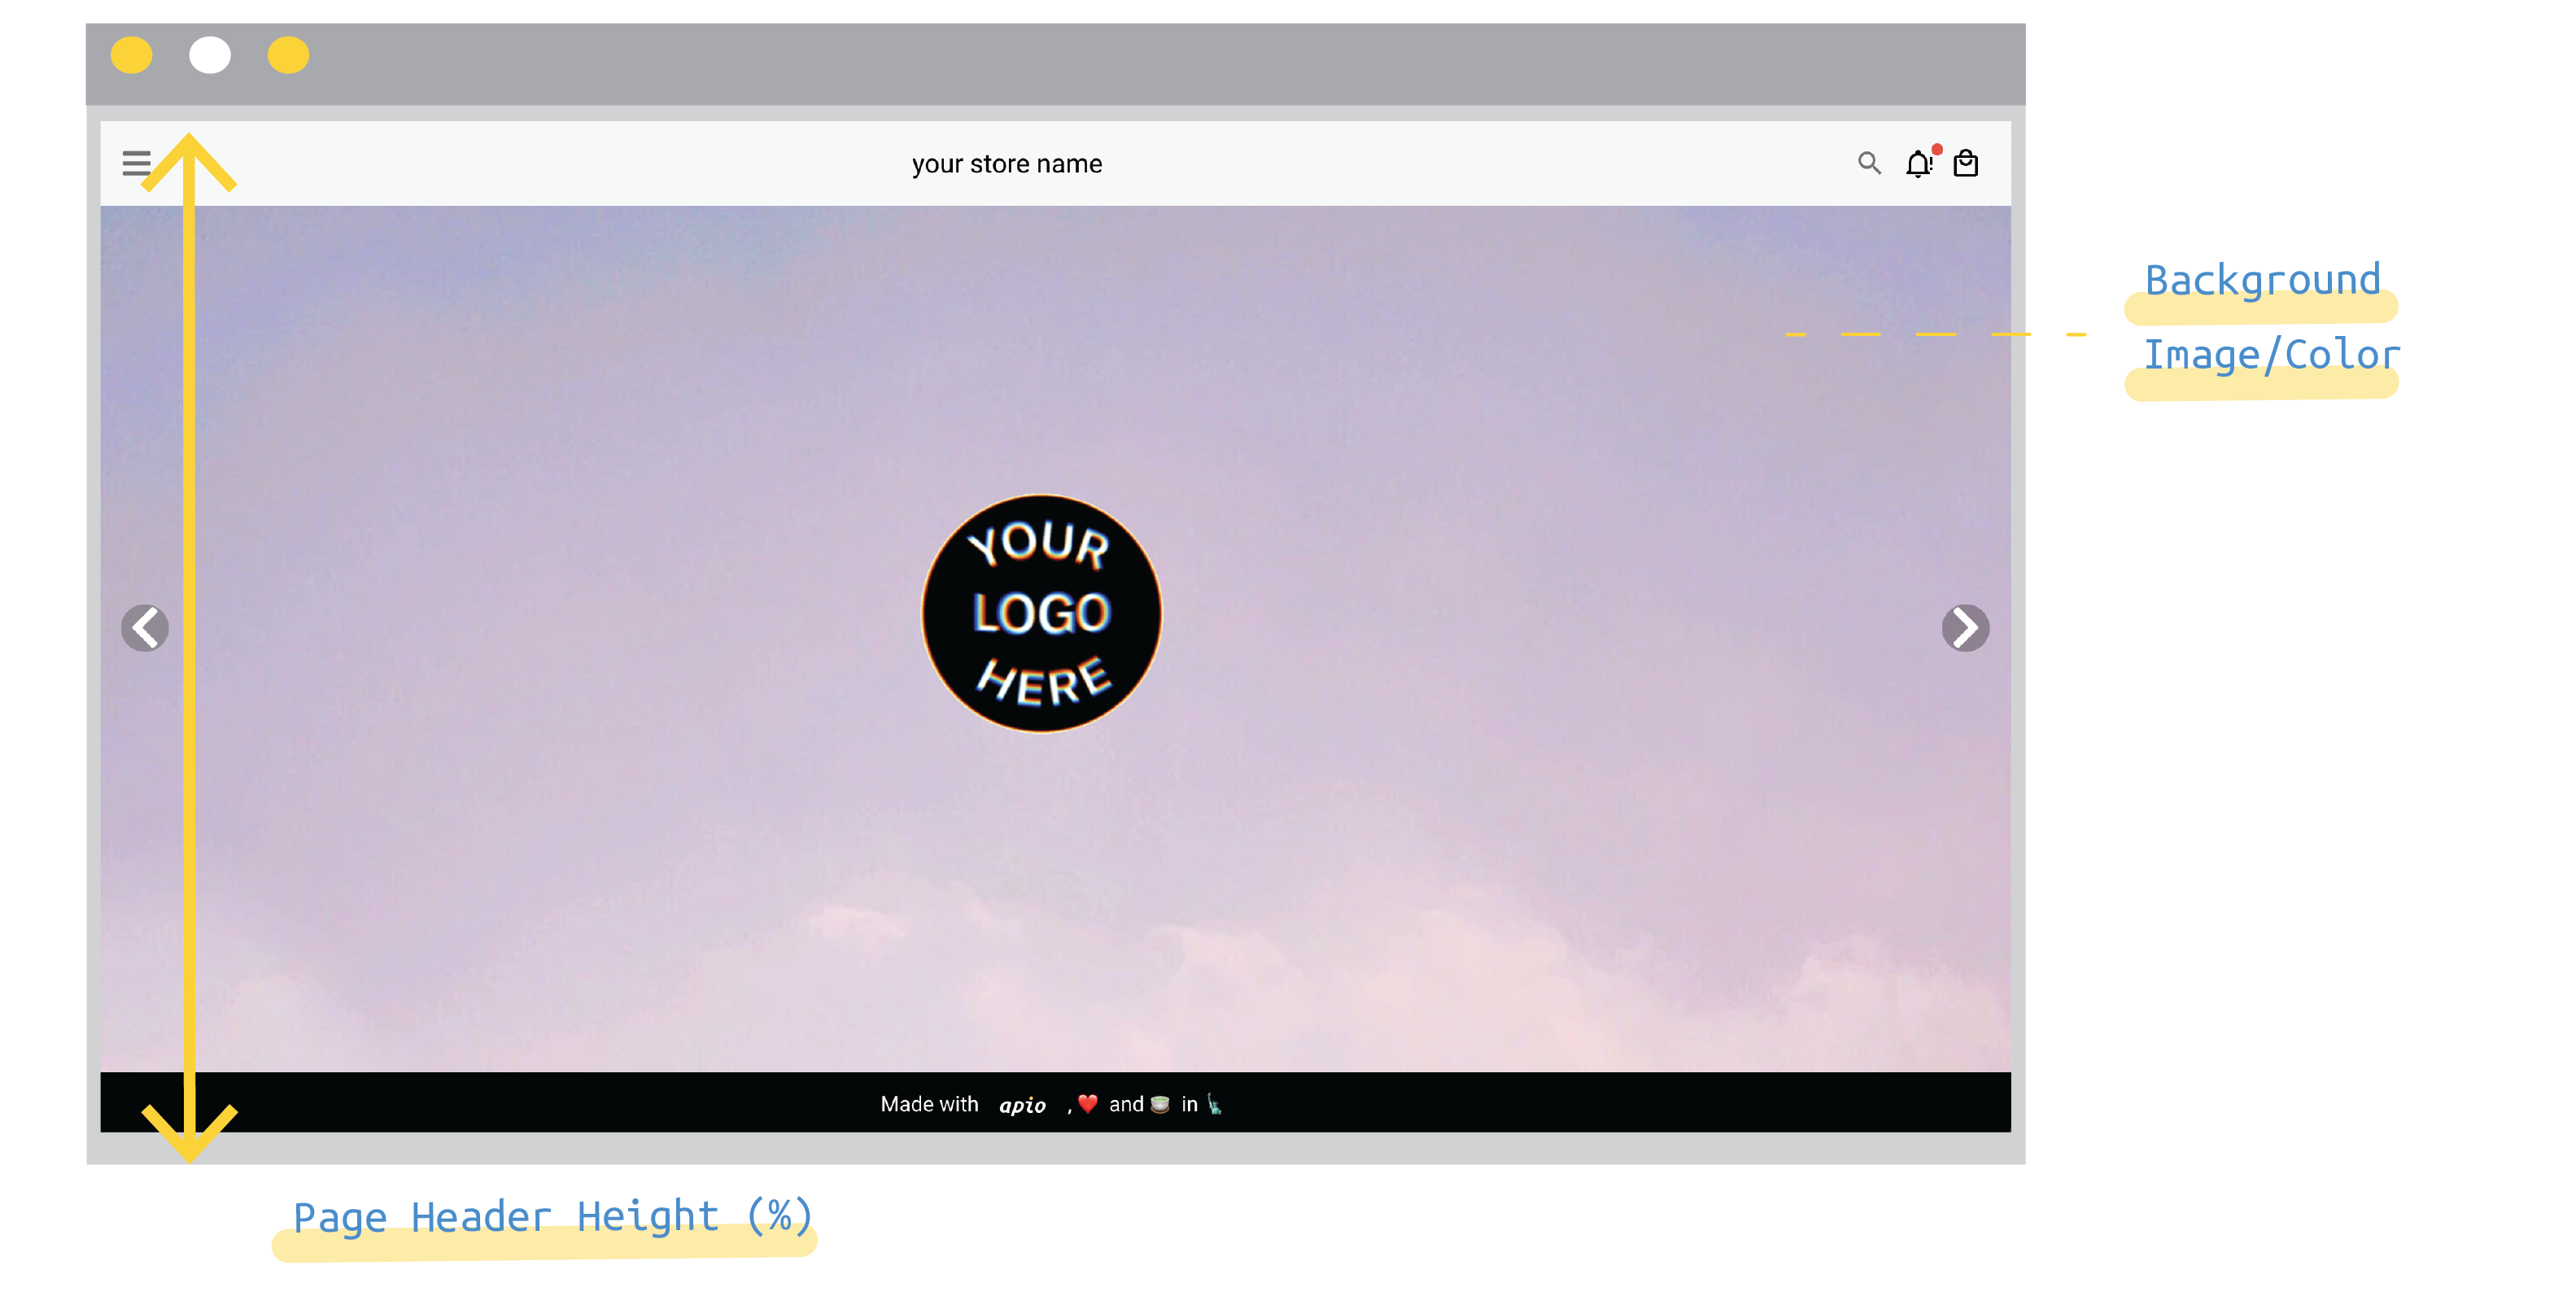
Layout 
- Store Background Image url (optional): Add a background image.
- Store Background Color (optional): You can easily select color from swatch or enter a hex code.
[NEW]Page Header Height: You can adjust height of your background image. Default is 100% and it will take up the entire screen.
- Message to show when the product has max_qty = 0 (optional): In catalog google sheet, when input “0” in the
max_qtyfield the indicated product will show “Coming Soon!” on the website. You can customize this text your way. A few other alternatives can be “Out of Stock”, “Back in October” etc.
Order Settings 
Store Currency 
[NEW]Store Currency: Default is USD (US Dollar). Choose your preferred currency code from the dropdown menu.
Order Form 
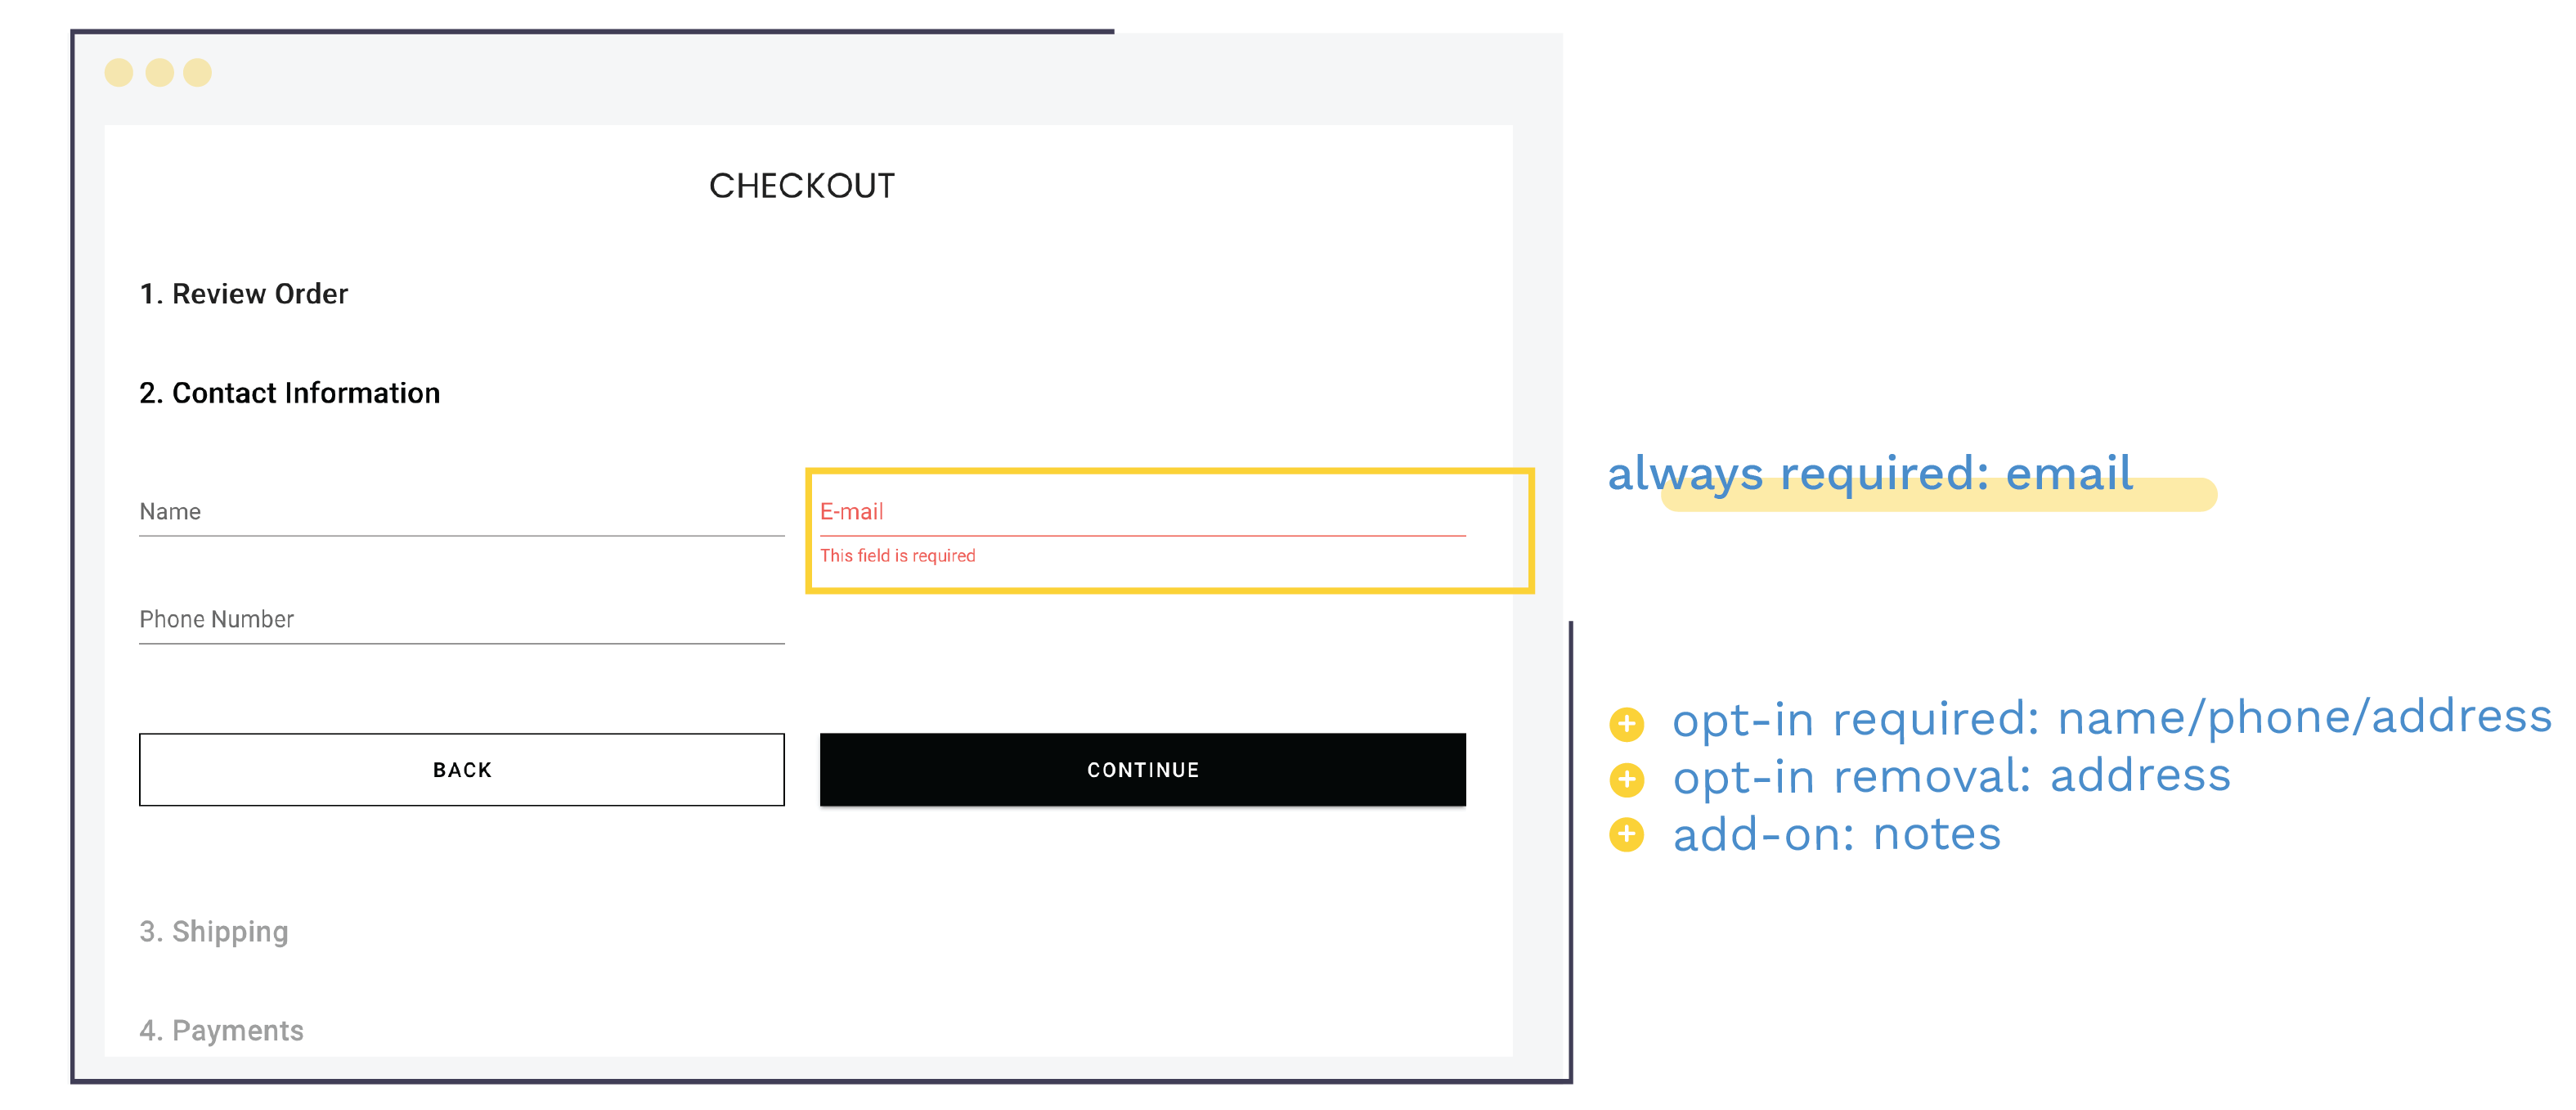
Required Input in Order Form: By default, we only require customers to put in their emails. You can make other fields required, so you would not miss any important information.
- Customer Name
- Customer Phone Number
- Customer Address
Remove Customer Address Field: If you sell digital products or only offer store pick-up, you might not need to collect customer’s addess.
Add Optional Note Section: To add a field for customers to input any notes.
We recommend using this field to collect customization details (i.e. message to be put on the cake) rather than using as a communication channel
Minimum Order 
- Set Order Minimum: Enter a dollar amount. Your customers’ purchase has to achieve this minimum amount to be able to submit the order.
Order Confirmation Email 
Send Order Confirmation: Enable this feature, so customers can receive a confirmation email after placing an order successfully. If you didn’t grant us access to send email on your behalf when creating store, you can do so in Post-it app.
[NEW]Order Confirmation Email Subject: Customize the subject of order confirmation email. Use<store_name>and<order_number>to show the name of your store and the customer’s order number.Default subject line is “Your Order from
<store_name>[<order_number>]”. It will look like this:
If you input “🎁
<store_name>has a surprise for you! Order number:<order_number>”. The subject line will look like this:
Contact Information 
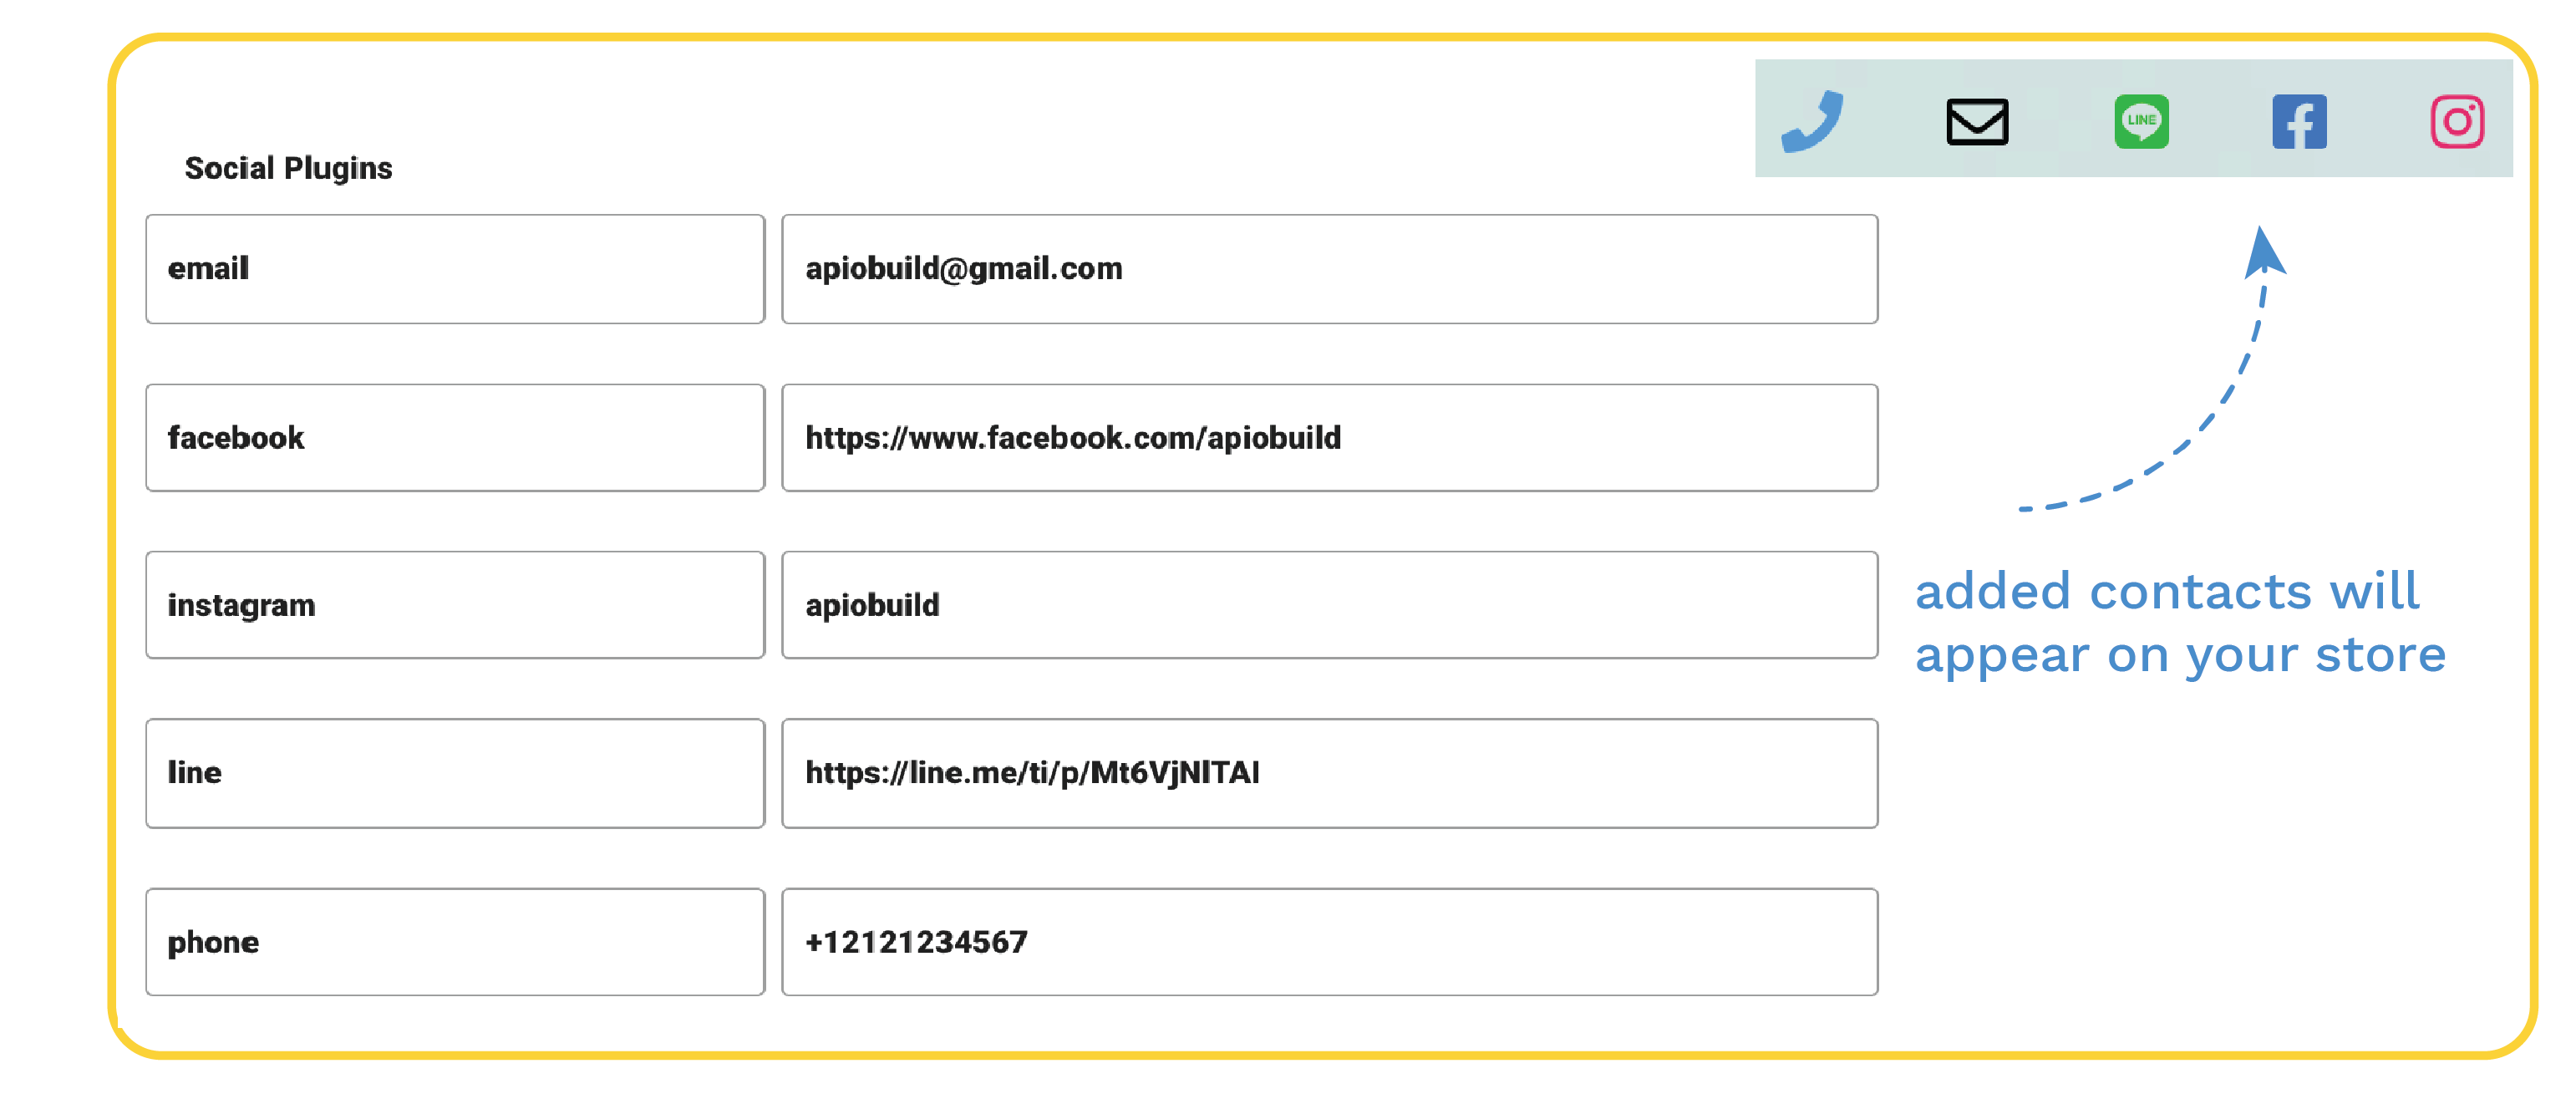
- Email: Default is the email address you used to sign into Telescope. But you can enter a different one if you wish to display a different email on website or send confirmation emails from that different email.
- Facebook: Full url to your facebook page or group (eg. https://www.facebook.com/apiobuild)
- Instagram: instagram handle without @, not the full url (eg. apiobuild)
- LINE: URL to your LINE account or LINE group. *How to retrieve LINE URL
- Phone Number: Start with country code (US: +1) and without dash nor brackets (eg. +17181234567).
[NEW]Twitter: Twitter handle without @ (eg. apiobuild).[NEW]WhatsApp: WhatsApp number with country code and without dash, +, nor brackets (eg. 12121234567).
Payment Methods 
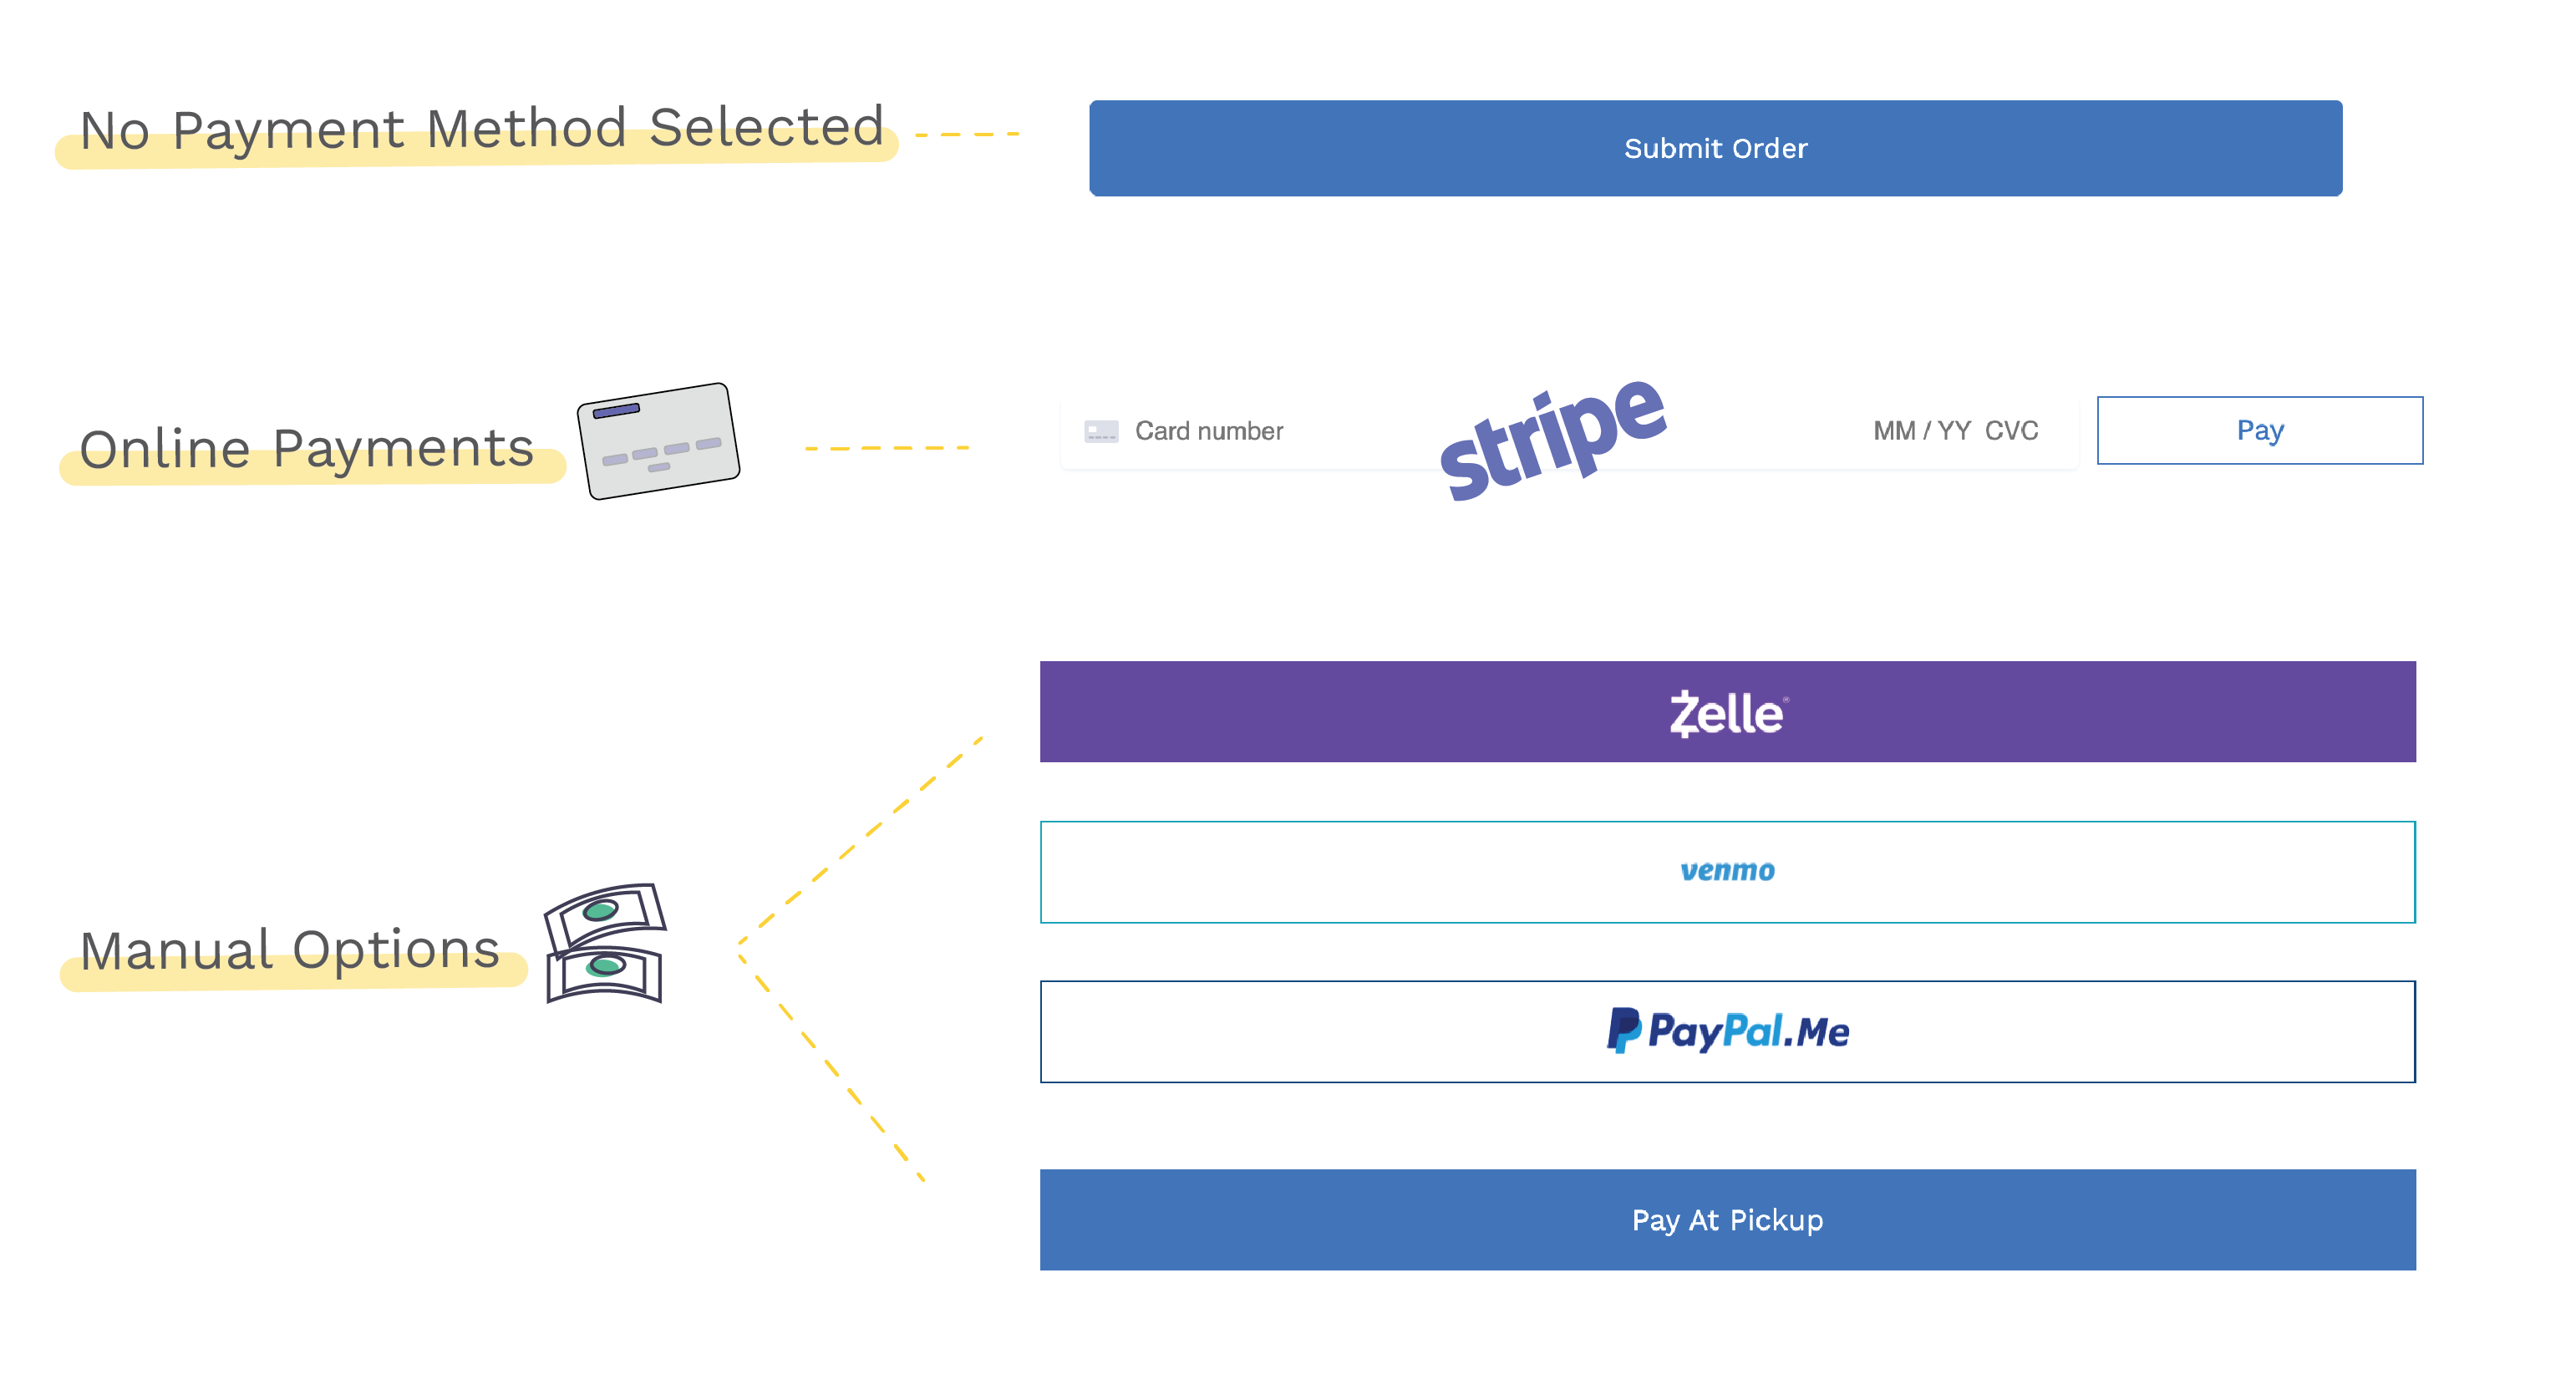
Each payment method will appear as a button. If you don’t add any payment options, there will be a “Submit Order” button. You can enable as many payment options as you’d like. They will replace the “Submit Order” button.
Visit our Demo Store and see how they work in real world. If you don’t see your preferred payment methods, drop us a message!
Online Payment Processor 
We currently support Stripe as online payment processor, which allows your customers pay with credit cards. Contact us when you’ve signed up Stripe and are ready to integrate them to your Chopin store.
There is a processing fee of 2.9% + 30¢, that will be deducted directly from your Stripe account. apio doesn’t take a cut from your profits! Click links below for more detailed pricing. *Stripe v.s PayPal. Which one is better?
[NEW]Stripe
Integrating these digital payment platforms allows Chopin to verify the transactions in realtime and post the result to order google sheet, so you don’t have to manually confirm each payment or check the amount totals.
Manual Options 
We also support some popular manual payment options across North America. However, manual payment means that the transaction will be handled outside of the Chopin checkout. We won’t be able to verify these payments either, though the payment method selected by customers will still be posted to your order google sheet.
[NEW]PayPal.Me: Provide your PayPal.Me link. It will look like: https://www.paypal.me/youraccount This is the only manual payment which we can auto-generate the order total amount for customers. Recommended over other manual options. *How to set up PayPal.Me?- Zelle: Provide your Zelle email or mobile number.
- Venmo: Provide your Venmo handle.
- E-transfer: Provide your E-Transfer email or mobile number.
- Pay at Pick-Up: Check this box if you wish to collect payment when customers pick up their orders.
[NEW]Collect on Delivery: Check this box if you or courier will collect payment when the order is delivered to customers.
Shipping 
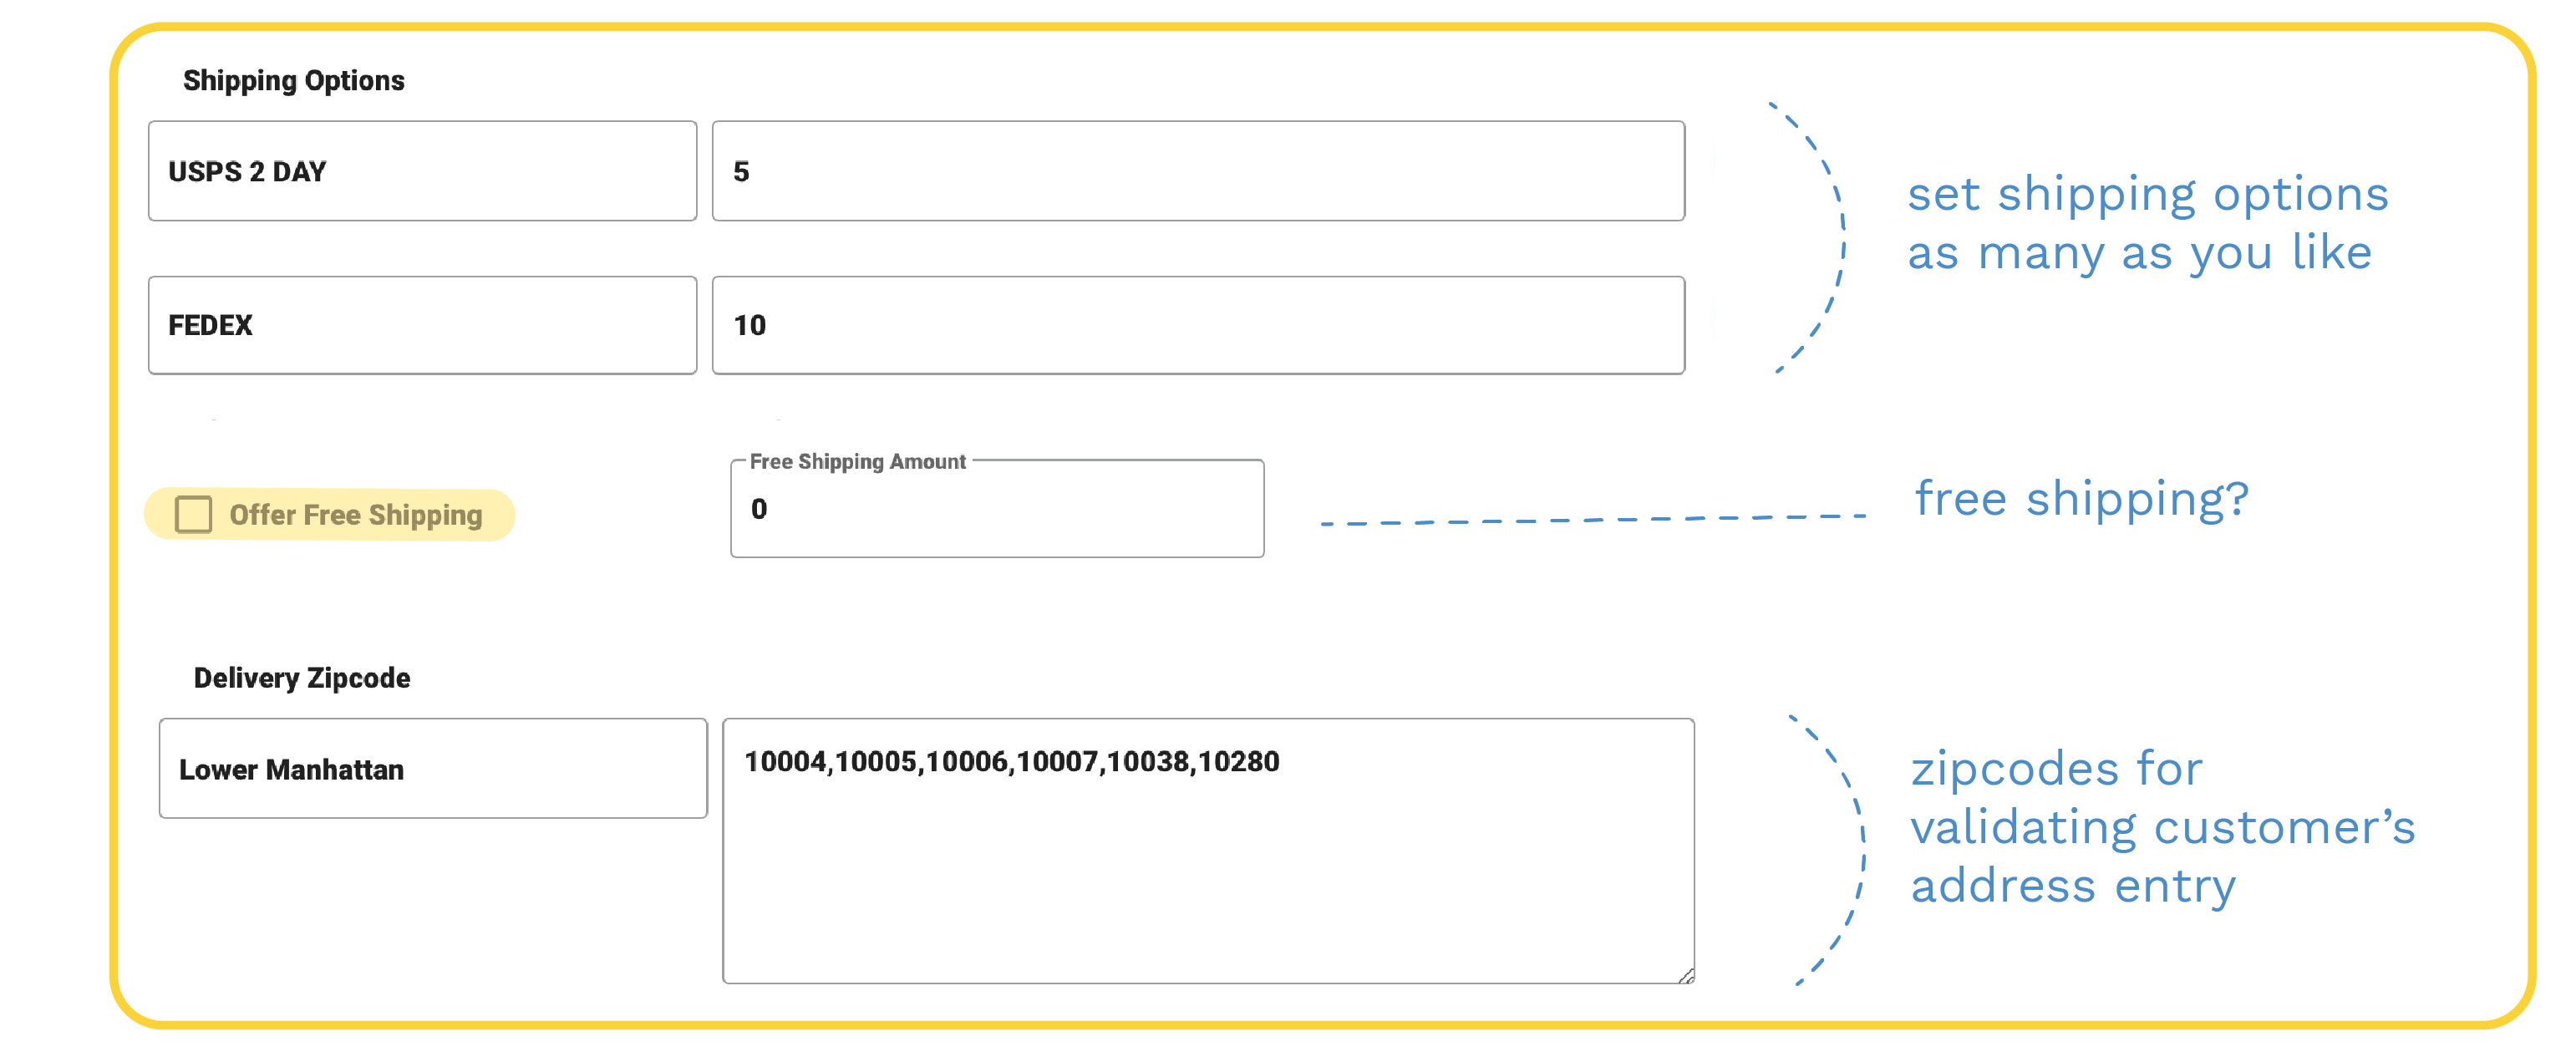
- Shipping Option: You can setup multiple options and the coresponding shipping cost. It will appear as a dropdown menu. You can also use this section to set pick-up dates/locations.
- Free Shipping: Set a free shipping amount.
- Delivery Zipcode: We can validate customers’ addresses based on a list or lists of zipcodes provided, so you don’t have to worry out-of-zone delivery. Use commas (,) to separate zipcodes.
Discount 
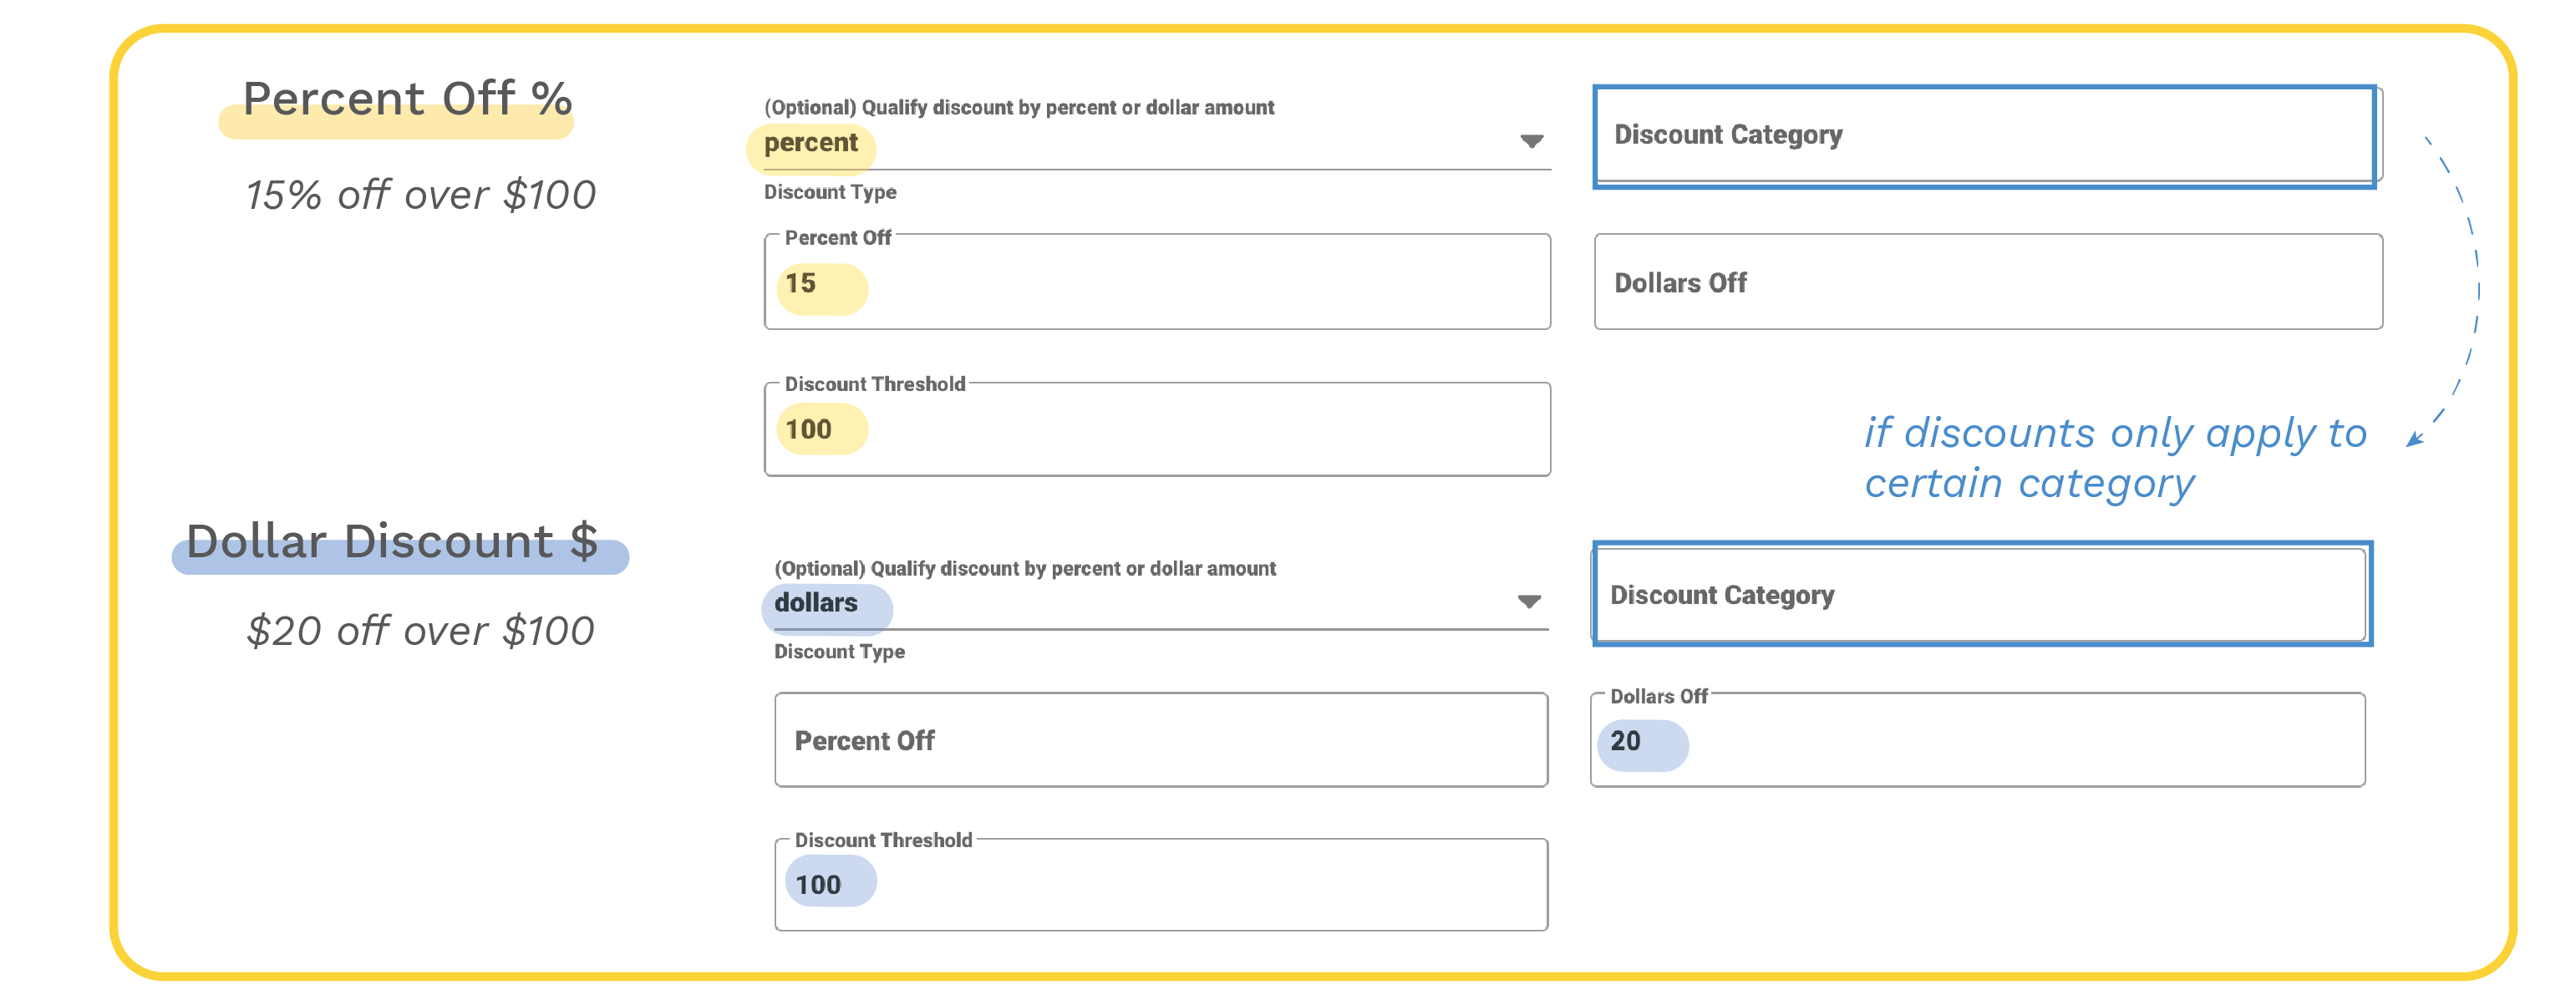
- Discount Type: You can set up a dollar value discount or a percentage discount.
- Discount Category: Enter a category, if you wish apply discount only to this category.
- Discount Threshold: Enter a dollar value, if you wish to apply discount only to order over this amount.
Tax 
Enter the tax rate in your area. If you set Tax Rate as 0, tax option will not be shown on your online store.
If you have certain products that don’t apply to sales tax, you can indicate that in the no_tax field in your Catalog Google Sheet.
Waitress API 
These are auto-generated when you created the store. If you need to update them, contact us.
We use apio's own Waitress google sheet API as catalog and order APIs. We welcome you to bring your own API, let us know!
Summary 
We are continue to update this article and grow our features. If you don’t see the features you’re looking for, or want to build something custom off our platform, contact us via email or Facebook Messenger. We’re more than happy to build custom solutions that fit your needs and budget! 🚀